The Bones of Your Walls
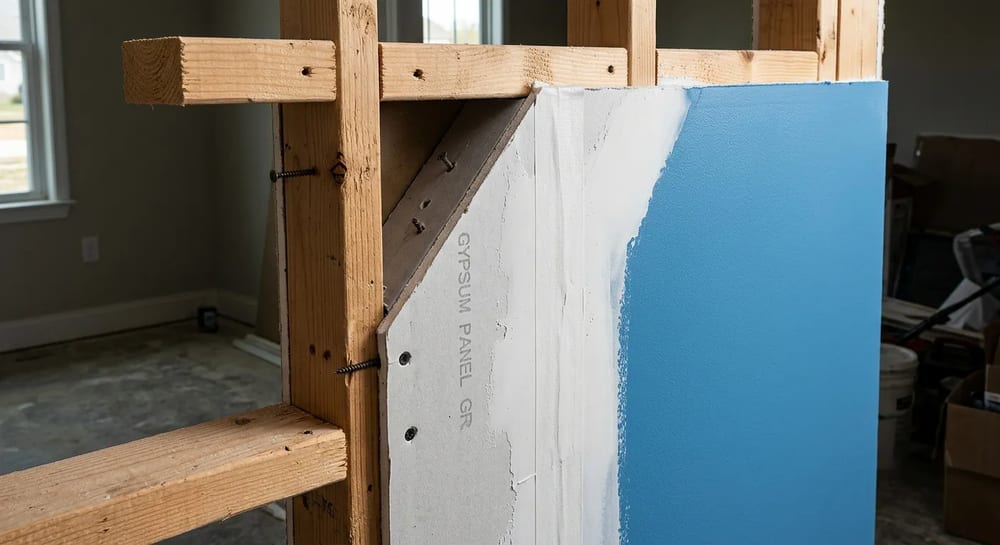
Drywall is the skin of your house. It is made of chalky gypsum rock pressed between two thick sheets of paper. Builders screw large panels of it directly to your wooden wall studs. They cover the seams between the panels with paper tape and a wet paste called joint compound. Once it dries, they sand it smooth so the wall looks like one solid piece.
Drywall is cheap and easy to fix. But it is also soft. It dents when you bump it with a couch. It crumbles if it gets wet. Most of the cosmetic work you do inside your house will involve fixing small drywall bumps and bruises.
Common Wall Problems
Houses move. Wood dries out and shrinks. Because of this, your drywall will eventually show some wear and tear.
Nail pops are very common. This happens when a drywall screw or nail backs out of the wood stud. It pushes a small, round bump of paint out of the wall. To fix it, you drive a new screw into the wall right next to the old one. Then you pull the old fastener out and patch the hole.
Hairline cracks often show up above doors and windows. This happens because the framing shifts slightly. You can scrape the loose paint away, apply new drywall tape, and cover it with joint compound. If cracks keep coming back or get wider than a pencil, your house might be settling. You can read more about what causes this in our Foundation & Structure guide.
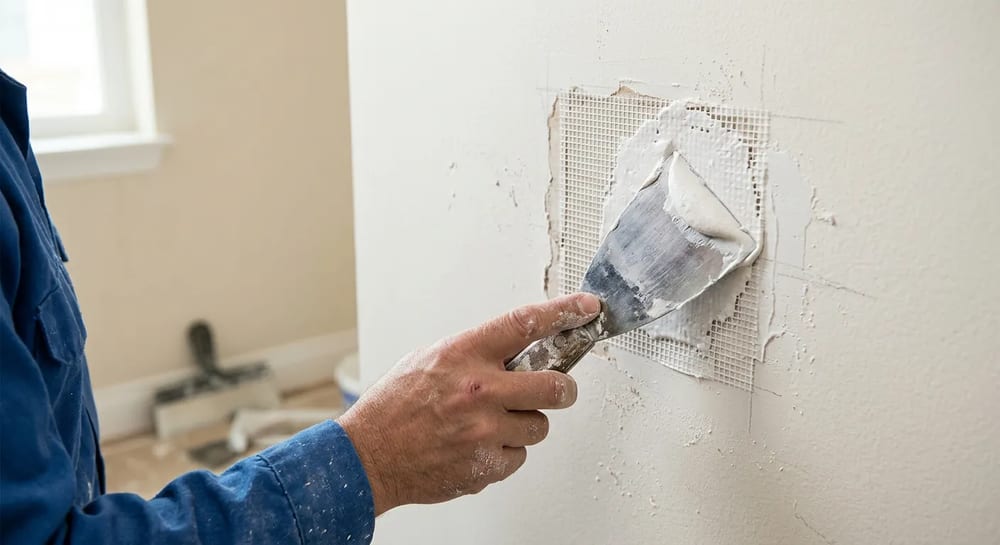
For small nail holes from hanging pictures, you just need a tiny dab of spackle. Spackle dries fast and does not shrink much. For holes larger than a golf ball, you need a sticky mesh patch. You put the patch over the hole and spread joint compound over it. The mesh gives the wet mud something to hold onto.
How to Patch a Hole in Drywall
Patching drywall is the single most common repair a homeowner does. The good news is that the method changes with the size of the hole, and only the biggest holes are hard. If you can spread peanut butter on toast, you can patch a wall. The secret is patience: thin coats that dry fully beat one thick glob every time.
Match your fix to the damage. A pinhole from a thumbtack needs a swipe of spackle. A doorknob-sized hole needs a patch kit. A hole bigger than your hand needs a fresh piece of drywall screwed to the studs. Here is a quick guide to picking the right repair before you start.
| Hole Size | What to Use | Roughly How Long |
|---|---|---|
| Nail or screw hole (pencil width) | Lightweight spackle and a putty knife | 10 minutes plus dry time |
| Up to a golf ball | Self-adhesive mesh patch plus joint compound | 30 minutes plus dry time |
| Up to your hand (a "California patch") | A cut square of new drywall and tape | 1 hour plus dry time |
| Bigger than your hand | New drywall screwed to a wood backer or the studs | Half a day plus dry time |
Patching a Medium Hole Step by Step
This is the doorknob-sized hole most people fight with. Here is the reliable order of operations.
- Cut away any loose or crumbling paper around the hole with a utility knife so the edges are firm.
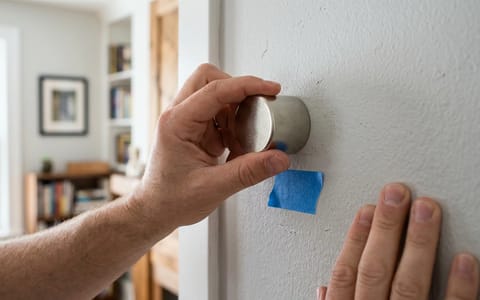
- Stick a self-adhesive fiberglass mesh patch over the hole. It should overlap the solid wall by at least an inch on every side.
- Spread a thin first coat of joint compound over the mesh with a wide putty knife. Push it into the mesh, then scrape most of it back off. You only want to fill, not pile.
- Let it dry fully. Most compound needs several hours. It must turn from gray to bright white before you touch it again.
- Apply a second, wider coat that feathers out past the first. Repeat with a third coat if you still see the patch outline.
- Sand the dry patch smooth with fine sandpaper. Wipe the dust off, prime the bare spot, and paint.
For a hole bigger than your hand, you are no longer patching, you are replacing. You cut a clean square, screw a scrap of wood inside the wall as a backer, screw a new drywall square to it, then tape and mud the four seams. If that sounds like more than you want to take on, a handyman or drywall contractor can knock it out fast. Our guide on Hiring Contractors & What Things Cost walks through getting fair quotes, and DIY vs. Hiring a Pro helps you decide where to draw the line.
Prepping to Paint
Painting is 80 percent prep work and 20 percent actually painting. If you rush the prep, your walls will look terrible.
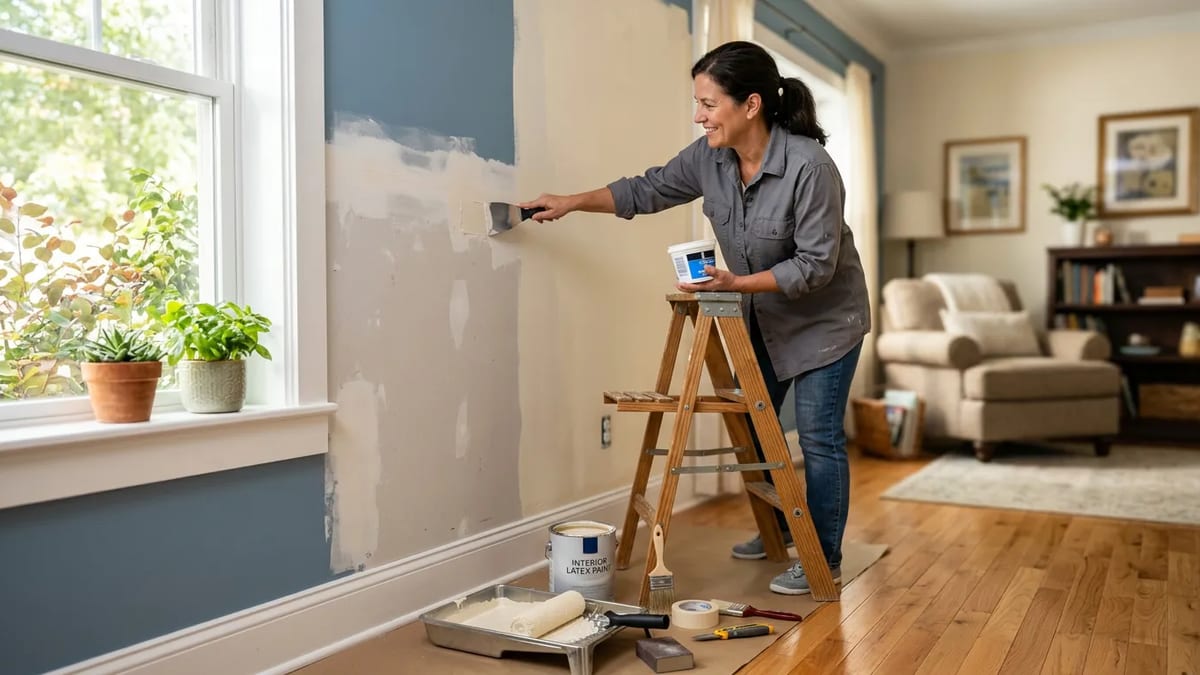
First, wash the walls. Paint will not stick to greasy fingerprints or thick dust. A damp sponge with a little dish soap works fine. Next, fill all your nail holes and sand them smooth. Run your hand over the wall. If you feel a bump, you will see it through the new paint.
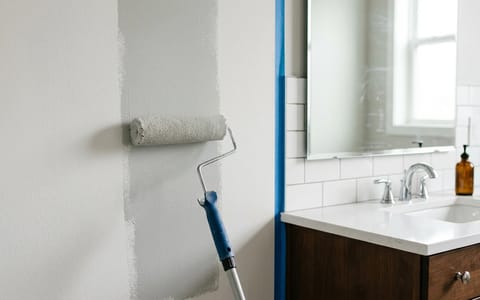
Finally, tape off your baseboards, window frames, and door frames. Use high quality painter tape. Press the edge of the tape down hard with a putty knife so paint cannot bleed underneath it. Drop a canvas tarp on the floor to catch drips.
Choosing the Right Paint
Walk into any hardware store and you will see hundreds of paint cans. The most important choice you make is not the color. It is the sheen. Sheen means how shiny the paint dries.
Shiny paint reflects light and is very easy to wipe clean. But because it reflects light, it highlights every single dent and flaw in your wall. Flat paint absorbs light. It hides terrible drywall work beautifully, but it is very hard to clean. If you scrub flat paint with a wet rag, the paint might rub right off.
| Paint Sheen | Best Room or Surface | Durability and Cleaning |
|---|---|---|
| Flat or Matte | Ceilings, low traffic bedrooms | Low. Hard to clean. Hides wall damage well. |
| Eggshell | Living rooms, dining rooms | Medium. Wipes clean easily with a damp cloth. |
| Satin | Kitchens, bathrooms, hallways | High. Resists moisture and takes light scrubbing. |
| Semi-Gloss | Trim, doors, baseboards, cabinets | Very High. Highly scrubbable but shows every dent. |
You also need to think about primer. Primer is a base coat. It sticks to bare drywall better than paint does. It also blocks old stains from showing through. If your walls smell like old cigarette smoke, a regular coat of paint will not fix it. You need a special stain blocking primer. Check out our Smells & Odors guide for more details on trapping bad smells.
Caulking Baseboards and Trim
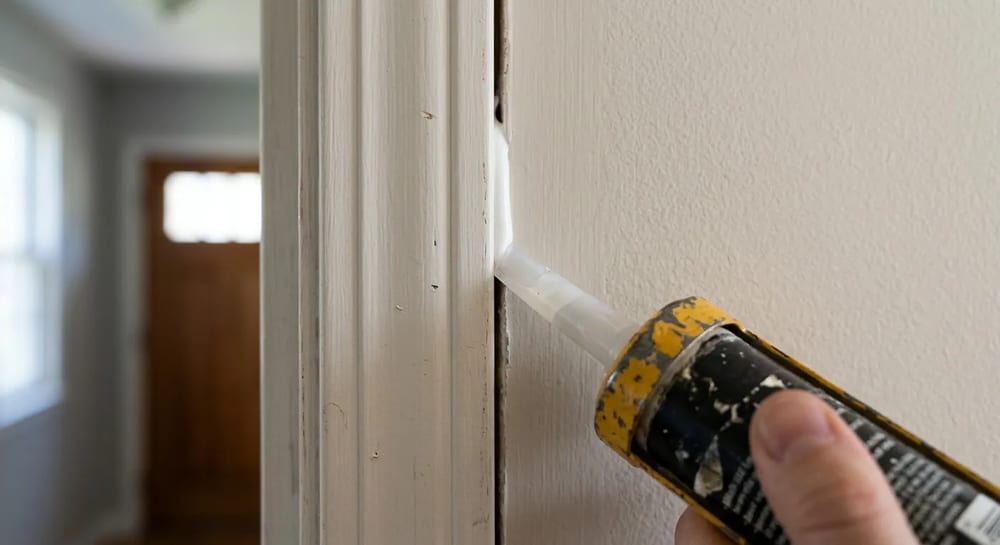
A fresh bead of caulk along your baseboards and base molding is the cheapest upgrade in home improvement. It hides the dark shadow line where the trim meets the wall, blocks dust and bugs, and makes a tired room look freshly built. It takes a steady hand more than any skill, and a single tube covers a whole room.
The trick most people miss is choosing the right product. Not every tube in the aisle is the same, and using the wrong one means cracks come back within a year. Here is how the common options stack up for interior trim work.
| Caulk Type | Best Use | Paintable? |
|---|---|---|
| Acrylic latex (painter's caulk) | Baseboards, base molding, door and window casing | Yes |
| Siliconized acrylic (flex caulk) | Trim near bathrooms and kitchens that flexes or sees light moisture | Yes, most brands |
| Pure silicone | Tubs, sinks, tile, anywhere that gets truly wet | No, paint will not stick |
For baseboards and casing, reach for paintable acrylic latex or a flexible siliconized "flex" caulk. Never use pure silicone on trim you plan to paint, because paint beads up and slides right off it.
How to Caulk Baseboards
- Wipe the gap clean and dry. Caulk will not stick to dust or grease.
- Cut the very tip of the tube nozzle at an angle, making the smallest opening you can. You can always cut more, never less.
- Run a slow, steady bead along the seam between the trim and the wall, pushing the gun forward so the caulk fills the gap ahead of the tip.
- Drag a wet fingertip or a damp rag down the bead in one smooth motion to press it in and wipe away the excess.
- Let it skin over for the time on the tube, then paint. Most painter's caulk is paint-ready within an hour or two.
Trim and Molding
Trim covers the ugly gaps where different materials meet. Baseboards cover the gap between the wall and the floor. Casing covers the gap between the wall and a door frame. Crown molding sits up high between the wall and the ceiling.
Trim takes a lot of abuse. Vacuum cleaners smash into baseboards. Dogs scratch window casings. Upgrading your trim is a fast way to make an old room look modern. If you just put in new floors, you will probably need to remove and replace your baseboards anyway. Read our Flooring guide to see how floors and trim fit together.
When you install or repair trim, you need two different fillers. You need wood filler for the nail holes in the wood itself. Wood filler dries hard and you can sand it smooth. You need caulk for the long gap between the trim and the drywall. Caulk is flexible. It stretches when the house moves so the gap stays hidden.
Water Damage and Stains
Water is the enemy of drywall. If a pipe leaks behind your wall, the drywall turns to mush. Even after it dries out, it leaves a dark yellow or brown ring on your ceiling or wall.
If the drywall is soft to the touch, or if it crumbles when you poke it with a screwdriver, it is dead. You cannot save it. You have to cut the damaged square out with a utility knife and screw a new piece of drywall into the studs. Always make sure you actually fixed the source of the water first. If you have a hidden leak, check your Plumbing before you close the wall back up.
Soundproofing Walls and Quieting Rooms
If you can hear the TV through the wall or a noisy neighbor through a shared bedroom, the problem is that ordinary drywall is thin and rigid, so it passes sound straight through. You cannot make a normal wall totally silent without rebuilding it, but a few targeted moves will noticeably cut the noise. The goal is to add mass, break the path sound travels, and seal the gaps it sneaks through.
Most noise actually leaks through small openings, not the wall itself. Gaps under doors, around outlets, and where the baseboard meets the floor are highways for sound. Sealing those with acoustic caulk and weatherstripping is the cheapest fix and often the most effective. After that, you add mass and isolation. Here is how the common upgrades compare.
| Approach | How It Helps | Effort and Cost |
|---|---|---|
| Seal gaps and door gaps | Stops the easiest sound leaks first | Low. Acoustic caulk and a door sweep. |
| Soft furnishings (rugs, curtains, bookshelves) | Absorbs echo inside the room | Low. No construction. |
| Add a second layer of drywall | More mass blocks more sound | Medium. New panels plus mudding. |
| Sound-deadening or noise-insulation drywall | A heavier panel built to block noise | Medium to high. Pricier panels. |
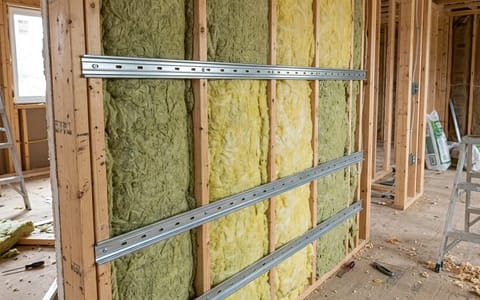
| Resilient channel or insulation in the wall cavity | Breaks the path and dampens vibration | High. The wall must be opened up. |
For a noticeable jump without opening the wall, the popular DIY move is a second layer of drywall, ideally a sound-deadening panel, glued over the existing wall with a thick noise-dampening adhesive in between. The added mass and the soft glue layer together knock down a surprising amount of voice and TV noise. True soundproofing, where you barely hear anything, means opening the wall to add insulation and resilient channel, which is a bigger job. If the noise is coming from a neighbor in a townhouse or condo, our Neighbors & HOA guide covers the etiquette and rules side of the problem too.
What Does It Cost?
Painting is the most popular DIY project in America because the labor is expensive but the materials are cheap. A gallon of good interior paint costs $40 to $80. A professional painter will charge hundreds of dollars for that same room because of the time it takes to prep and clean up.
Drywall repair costs depend on the size of the hole. A handyman can patch a doorknob hole in an hour. Replacing an entire ceiling ruined by a burst pipe takes a crew several days.
Keep in mind that prices vary widely based on your region, the age of your home, and the exact scope of work. If you want to hire this out, our guide on Hiring Contractors & What Things Cost is a great place to start.