How to Replace a Garage Door Bottom Seal (And Stop Drafts)
Stop drafts, water, and pests from entering your garage. Learn how to replace a worn garage door bottom seal and install a floor threshold for maximum protection.
Full guide Windows & Doors Learn how to spot energy leaks, fix drafts, and decide when to replace your windows and doors.Homeowners often notice leaves, rain, or even mice sneaking into their garage, accompanied by a noticeable cold draft. The culprit is almost always a flattened, cracked, or completely missing rubber gasket at the base of the door. Upgrading your garage door bottom seal is a fast, inexpensive project that immediately blocks out the elements and keeps your space significantly cleaner.
What Causes a Garage Door Bottom Seal to Fail?
Rubber and vinyl components degrade over time. Constant exposure to freezing temperatures, summer heat, and the sheer weight of a 150-pound door pressing down daily will eventually flatten any weatherstripping. Temperatures can swing from -20°F in winter to over 120°F in direct summer sun, accelerating material fatigue. Once the material loses its memory, it can no longer spring back to fill the gaps between the door and the concrete.
Beyond the mechanical stress of daily use, environmental factors play a significant role in the seal's demise. Ultraviolet (UV) radiation from the sun constantly bakes the exposed rubber, breaking down its molecular structure and causing it to become brittle and prone to cracking. Chemical exposure, such as oil drips from vehicles or road salts tracked in during winter, can also accelerate degradation, dissolving the rubber's elasticity over time. These combined stresses weaken the material, creating pathways for drafts, moisture, and pests.
The consequences of a failing seal extend beyond mere discomfort. Gaps under your garage door allow conditioned air to escape and unconditioned air to infiltrate, leading to higher energy bills, especially if your garage is attached to your home. A poorly sealed garage can also become a haven for pests like spiders, rodents, and insects, which can then find their way into your living space. In addition, water intrusion can lead to slippery floors, damage to stored items, and even mold growth, making a timely seal replacement a wise investment in your home's integrity and your family's health.
Last October, I helped my neighbor replace the original factory seal on his two-car garage. The old rubber had turned brittle and snapped off in chunks, leaving a half-inch gap that was basically an open door for field mice. We found that simply swapping out the $30 part raised the ambient temperature in his attached garage by nearly ten degrees during the coldest weeks of winter. Properly sealing attached garages is also a key recommendation in Energy Star guidelines for reducing overall home energy loss, since cold air in the garage often leeches through shared interior walls.
Identifying Your Track and Seal Type
Before you buy replacement parts, you need to know what type of track is bolted to the bottom of your door. Garage manufacturers use a few different proprietary shapes to hold the weatherstripping in place.
Raise your garage door to eye level and look closely at the ends of the bottom track. You will see one of three common profiles:
- T-Style: The most common residential style. The rubber seal has two edges shaped like a "T" that slide into two separate channels on the aluminum retainer. Standard sizes are 1/4-inch or 5/16-inch wide Ts.
- Bulb Style: Often found on single-channel retainers. The top of the seal has a round bulb shape that pushes or slides into a single round track.
- Beaded Style: Similar to the T-style, but the edges inserted into the track are round beads rather than flat Ts.
While identifying the track type is crucial, also consider the material of the replacement seal. Most seals are made from either EPDM rubber or vinyl. EPDM rubber offers superior durability and flexibility in extreme temperatures, making it ideal for harsh climates, though it can be slightly more expensive. Vinyl is a more budget-friendly option, but it may stiffen in very cold weather, potentially reducing its effectiveness over time. Additionally, seals come in various widths (e.g., 3-inch, 4-inch, 6-inch) to accommodate different gap sizes. A wider seal provides a larger buffer against uneven floors and offers better protection against elements.
Measure the width of your door (typically 8, 9, or 16 feet) and buy a replacement seal that is at least one foot longer than you need. You will trim the excess at the end of the project.
Gathering Your Tools and Materials
Before you begin, ensure you have all the necessary tools and the correct replacement seal. A smooth installation depends on proper preparation. Here’s a quick checklist to help you get started:
- Replacement garage door bottom seal (correct type and length)
- Utility knife with a fresh blade
- Flathead screwdriver or putty knife
- Clean rags
- Dish soap and water in a spray bottle, or silicone lubricant
- Locking pliers or C-clamps
- A sturdy step ladder (optional, but helpful for taller doors)
- A second person (highly recommended for easier installation)
Having these items ready will prevent interruptions and make the process much more efficient. Don't forget safety glasses, especially when dealing with old, brittle rubber that can snap or splinter.
How to Replace a Garage Door Bottom Seal
Replacing the seal is a straightforward job, but having a second person to help feed the rubber into the track will cut your working time in half. Grab a utility knife, a flathead screwdriver, an old rag, and a bottle of dish soap.
- Raise and secure the door. Lift the door to about chest height. Clamp locking pliers onto the vertical track just below a roller to prevent the door from falling or moving while you work.
- Remove the old seal. Pull the old rubber out from one side. If it is stuck or hardened, slice it down the middle with a utility knife and pull the pieces out individually.
- Clean the aluminum track. Use a flathead screwdriver to scrape out any compacted dirt, dead bugs, or rust flakes. Wipe the inside of the channels with a damp rag.
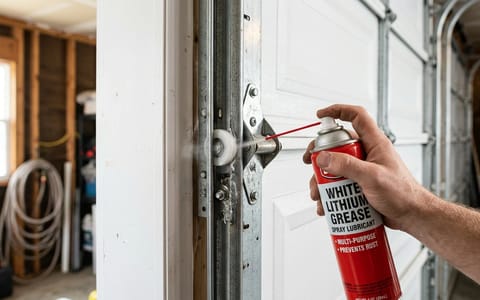
- Lubricate the channels. Spray the entire length of the aluminum track with silicone lubricant or a mixture of water and dish soap. Do not skip this step, or the new rubber will bind.
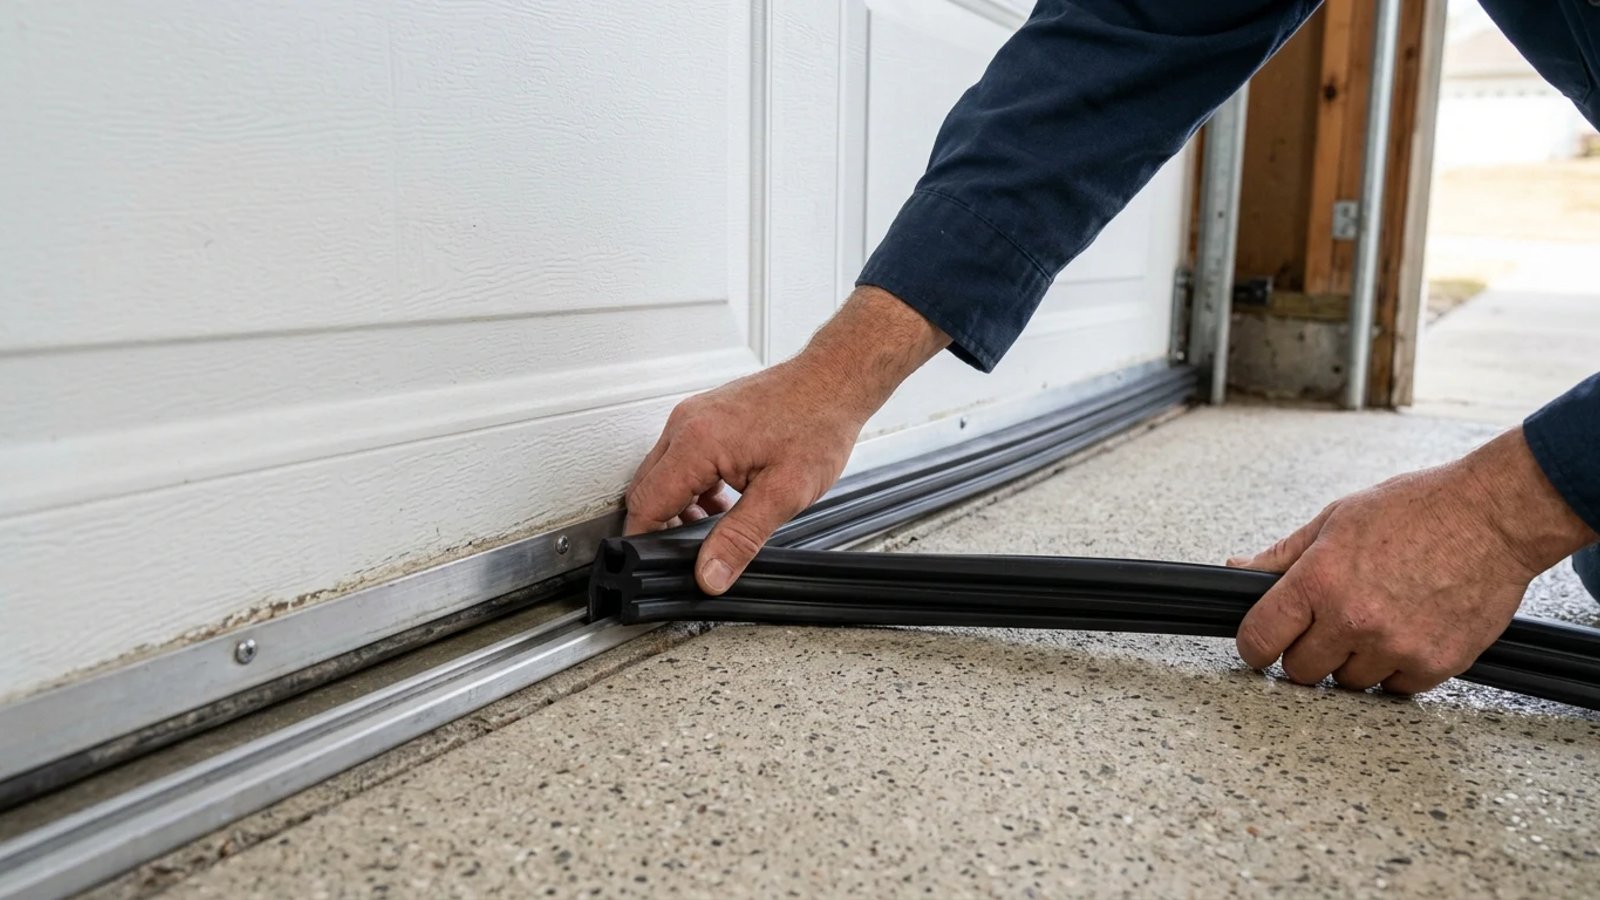
- Feed the new seal. Have your helper stand at one end of the door and feed the T-edges into the track. Stand at the other end and gently pull the seal across the door. Pull steadily without stretching the rubber.
- Trim and fold the ends. Once the seal is centered, use your utility knife to cut the excess rubber, leaving about two inches overhanging on each side. Fold this extra material back into the track to lock the seal in place and block drafts at the corners.
Adding a Threshold Seal for Uneven Floors
Sometimes, a new garage door bottom seal isn't enough. If your concrete floor is pitted, heavily sloped, or has settled unevenly over the years, a standard 3-inch or 4-inch door gasket will still leave visible daylight gaps. Water will pool and run right under the door during heavy rainstorms.
The solution is a floor-mounted threshold seal. This is a heavy, ramp-shaped strip of solid rubber that you glue directly to the concrete floor directly beneath the door. When the garage door closes, the bottom gasket presses tightly against the raised ridge of the threshold, creating a watertight, pest-proof barrier.
Threshold seals come in various profiles, each designed to tackle specific challenges. Some feature a low-profile hump, ideal for slightly uneven surfaces or to create a simple water barrier. Others have taller, more robust humps or multi-ridge designs, perfect for significant slopes or to completely block larger volumes of water and persistent pests. The right profile will depend on the severity of your floor's unevenness and the primary issues you're trying to solve. Always ensure the threshold material is durable, weather-resistant, and compatible with the adhesive you plan to use for long-lasting performance.
Proper surface preparation is paramount for the adhesive to bond effectively. After sweeping and scrubbing with a degreaser, consider using a wire brush to remove any loose concrete or stubborn grime. For very porous or dusty concrete, applying a concrete primer before the adhesive can significantly improve adhesion. Allow ample drying time for both the cleaning solution and primer before laying down the threshold seal. A clean, dry, and stable surface ensures your threshold seal stays firmly in place, providing years of reliable protection.
To install a threshold seal, you must start with deeply cleaned concrete. Sweep the area, scrub it with a degreaser, and let it dry completely. Lay the threshold strip out under the closed door, mark its position with a pencil, and cut it to fit around the side tracks. Apply a thick, continuous zigzag bead of construction adhesive (usually included in the kit) between your pencil lines, press the threshold down, and close the garage door tightly over it. Leave the door closed for 24 hours to clamp the seal in place while the adhesive cures.
Essential Maintenance Tips
Once your new garage door bottom seal is installed, a little basic upkeep will double its lifespan. Rubber dries out and cracks when ignored. Twice a year, wipe down the bottom seal with a rag to remove abrasive dirt and road salt. Follow up by spraying the rubber with a silicone-based garage door lubricant to keep it supple and prevent it from freezing to the concrete in cold weather.
For cleaning, a simple solution of mild soap and water is usually sufficient. Avoid harsh chemical cleaners or petroleum-based products, as these can degrade the rubber over time. When lubricating, always opt for a silicone-based spray, as it won't attract dirt or damage the rubber. Apply it generously to both sides of the seal, paying particular attention to the areas that make contact with the concrete. This lubrication not only keeps the rubber supple but also reduces friction, extending the life of your garage door opener by making the door easier to lift and lower.
Keep the concrete directly under the door swept clean. Small rocks and debris trapped under a closing door will quickly puncture or tear the new gasket. Taking 10 minutes a year to clean and lubricate the rubber ensures your garage stays dry, insulated, and free of uninvited pests.
- Replacing a garage door bottom seal is a beginner-friendly DIY project that typically takes under an hour and costs less than $50.
- Always lubricate the aluminum track before feeding the new seal; doing this dry will cause the rubber to bind and tear.
- For uneven concrete floors, combining a new bottom track seal with a floor-mounted threshold provides the ultimate barrier against water and pests.