Bathroom Fan Not Venting? 3 Reasons Your Mirror Stays Steamy
Is your bathroom exhaust fan making a racket but leaving the mirror completely fogged? Here is how to diagnose and fix a fan that refuses to pull air.
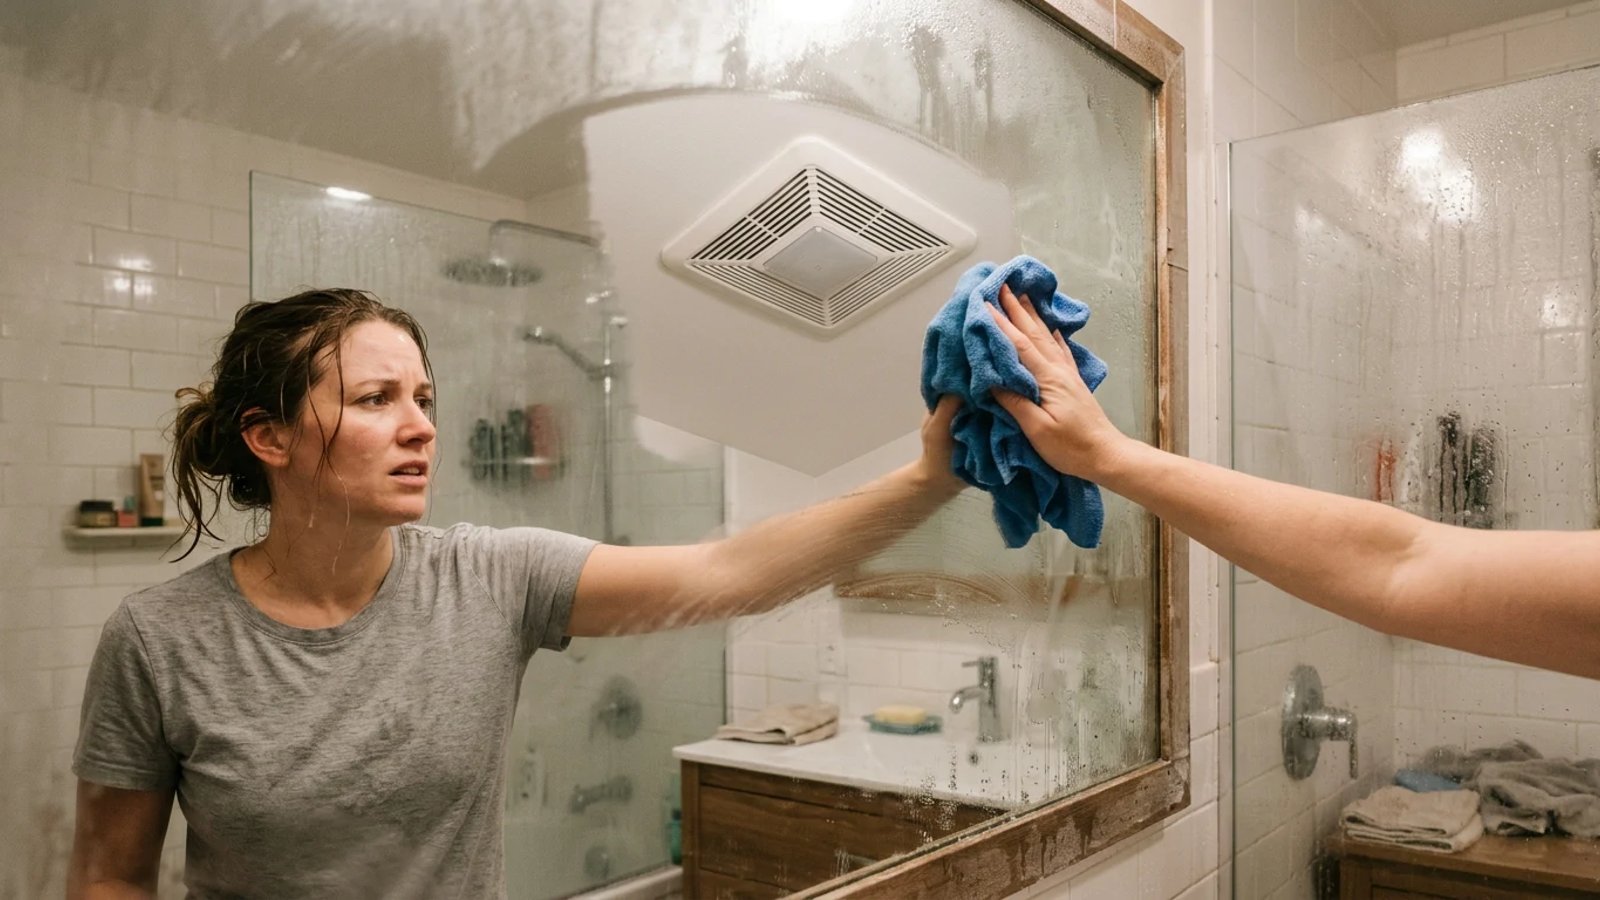
Full guide HVAC & Climate Control How your home heats, cools, and moves air, and the decisions that matter.You step out of the shower, grab your towel, and look up to shave or brush your hair. Instead of your reflection, you see a solid sheet of gray fog. Above you, the bathroom exhaust fan is roaring away, sounding like a jet engine on the runway. In my experience, it is making plenty of noise, but it is entirely failing at its one job: removing moisture from the room.
Dealing with a bathroom fan not venting is a frustrating daily annoyance. More importantly, ignoring the issue leads to peeling paint, ruined drywall, rust on your light fixtures, and eventual mold growth on the ceiling. Homeowners often assume that if a fan motor is spinning loudly, the unit is working properly. However, a noisy motor does not equal proper airflow. If the fan spins but the air stays trapped, you have a mechanical blockage, a broken duct, or a severe sizing issue.
Before you rip the fixture out of the ceiling or hire an electrician, you can track down the source of the blockage yourself. The fix usually requires basic household tools and a few minutes of investigative work.
How Do You Know If Your Bathroom Fan Is Not Venting?
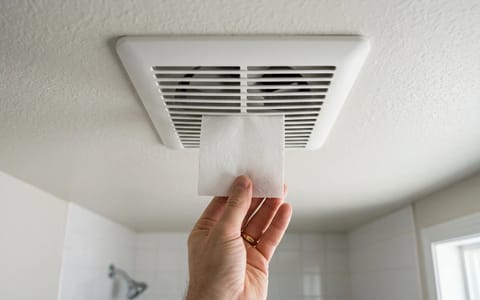
The easiest way to diagnose a bathroom fan not venting is to check if it has any physical suction. You do not need specialized airflow meters or expensive tools to test this. You just need a single square of toilet paper.
- Turn on the exhaust fan. Let it run for a few seconds to get up to full speed.
- Hold a square of toilet paper flat against the grille. Place it directly over the plastic slats on the ceiling.
- Let go of the paper. If the fan has proper suction, the paper will stick firmly to the ceiling grate for at least 5 seconds.
- Observe the result. If the paper flutters and drops immediately to the floor, your fan is moving zero air.
I tested this in my own guest bathroom last month after noticing a persistent musty smell. The fan sounded perfectly fine from the ground, but the paper dropped straight to the tile. Turns out, the motor was spinning a blower wheel that was completely caked solid in lint and dust. It was churning air in a circle rather than pushing it up the pipe.
Culprit 1: The Clogged Grille and Motor Housing
If your fan fails the toilet paper test, start with the most accessible part of the system: the unit inside the bathroom. Exhaust fans pull in massive amounts of airborne dust, lint from towels, and aerosolized hairspray. Over a few years, this debris forms a thick, felt-like blanket over the motor and the spinning blower wheel.
Cleaning the unit takes about ten minutes and requires nothing more than a step stool and a vacuum cleaner.
First, turn off the power to the fan at the wall switch. Grab the edges of the plastic grille on the ceiling and pull straight down. The cover will drop about two inches and stop, held in place by two V-shaped metal spring clips. Squeeze the prongs of these clips together to release them from the slots in the metal housing, and set the cover aside.
Look up into the metal box. If you see a heavy layer of gray fuzz coating the motor and the curved blades of the blower wheel, you have found your airflow restriction. Use a shop vacuum with a narrow crevice tool to suck away the dust. For stubborn grime stuck to the fan blades, an old, dry toothbrush works perfectly to break it loose so the vacuum can catch it. Wash the plastic cover in the sink with warm, soapy water, dry it thoroughly, and snap it back into the ceiling.
Culprit 2: Is the Exterior Flapper Stuck Shut?
If the motor is perfectly clean but the fan still cannot hold up a square of toilet paper, the air is hitting a wall somewhere further down the line. Exhaust fans push air through a duct that exits your house, usually through the roof, a side exterior wall, or the wooden soffit under your eaves.
At the very end of this duct is a lightweight plastic or aluminum flapper door. This damper opens when the fan pushes air out, and falls shut when the fan turns off to prevent cold drafts and bugs from entering the house. Because this flapper lives outside, it takes a beating from the elements.
Walk outside and locate where your bathroom vents to the exterior. Turn the fan on and watch the vent. The flapper should be propped open by the force of the air. If the door is stuck shut, the fan cannot push the bathroom steam outside. Common causes for a jammed damper include rust on the metal hinge pins, a buildup of wet lint, or debris blown in from a storm. Use a screwdriver to gently pry the flap open, clean the hinge area, and ensure it swings freely.
Culprit 3: Crushed, Disconnected, or Sagging Attic Ductwork
If the inside motor is clean and the outside vent flap moves freely, the problem lies in the hidden space between them. For most homes, this means taking a flashlight and a dust mask up into the attic to inspect the ductwork.
Bathroom fans are typically connected to the roof or wall vent using a 4-inch flexible aluminum or plastic duct. Because this material is soft, it is highly prone to damage. As you trace the duct from the bathroom ceiling box to the exterior wall, look for these three common failures:
- Crushed sections: Someone may have stepped on the duct, or a heavy storage box might have been pushed against it, pinching the hose flat and cutting off the airflow entirely.
- Disconnections: The duct may have slipped entirely off the fan housing or the roof vent collar. If this happens, the fan is just pumping moist bathroom air directly into your attic.
- Sagging lines: Proper ducting should run as straight and taut as possible. If the flexible hose droops into deep U-shapes between the ceiling joists, moisture will condense inside the low spots, eventually forming a heavy puddle of water that blocks air from passing through.
If you find a disconnected hose, slip it back over the metal collar. Secure it tightly using a stainless steel hose clamp or a wrap of aluminum foil tape. Never use standard cloth duct tape for this job, as the adhesive dries out and flakes off when exposed to attic heat.
When Is It Time to Replace the Fan Entirely?
Sometimes, a bathroom fan not venting has nothing to do with clogs or crushed pipes. Sometimes, the fan is simply too weak for the size of the room. This is incredibly common in older homes or houses built with cheap, contractor-grade fixtures.
Exhaust fans are rated by CFM, which stands for Cubic Feet per Minute. This number tells you exactly how much air the fan can move. The rule of thumb for proper ventilation is that you need at least 1 CFM for every square foot of bathroom floor space. If your bathroom is 80 square feet, you need an 80 CFM fan. If you have a massive primary bathroom with a vaulted ceiling and a soaking tub, a standard 50 CFM fan will run for three hours and still leave the mirrors completely fogged.
If you have verified that the duct is clear, the vent is open, and the motor is clean, but the room still turns into a sauna, it is time to upgrade the unit. A high-quality, high-CFM replacement fan costs between $70 and $150 at the hardware store. Look for a model with a low "sone" rating (1.5 sones or lower) if you want a fan that clears moisture quickly without sounding like a lawnmower.
A bathroom exhaust system is a simple mechanical pathway. By testing the suction, clearing the motor of dust, and ensuring the ductwork has a clear, straight shot to the outside, you can usually restore your fan's pulling power in a single afternoon. Keep the air moving, keep the moisture out, and you will never have to wipe down a foggy mirror again.
- Always test suction before assuming you need to buy a new fan motor.
- Clean the fan grille and vacuum the motor housing at least twice a year to maintain proper airflow.
- Never vent a bathroom exhaust fan directly into an attic, as it causes severe moisture damage and wood rot.
- Use aluminum foil tape, not standard cloth duct tape, to secure loose ventilation hoses in the attic.