How to Remove Mold From Bathroom (And Stop It Returning)
Tired of scrubbing dark spots off your shower ceiling only to see them return? Learn the right way to kill bathroom mold at the root and stop it from coming back.
Full guide Environmental Hazards Learn how to test for and fix radon, asbestos, lead, mold, and carbon monoxide in your home.You step into the shower, look up, and there they are: small, dark, fuzzy spots creeping across the ceiling above the showerhead. You scrub them away on Saturday, but by the end of the month, the spots have returned, looking darker and more stubborn than before. If you are searching for how to remove mold from bathroom surfaces permanently, you are not alone. Bathrooms are the perfect incubators for spores, offering a steady supply of moisture, warmth, and organic material to feed on.
The problem most homeowners face is not a lack of effort, but a misunderstanding of how mold actually grows. Treating the surface is only half the battle. If you do not attack the root system and fix the environmental conditions allowing it to thrive, you will be stuck in an endless cycle of scrubbing.
Why Does Bathroom Mold Keep Coming Back?
Mold spores are everywhere in the air we breathe, both indoors and outdoors. They remain completely harmless and dormant until they find the right environment to settle down and multiply. A typical bathroom provides exactly what they need: high humidity, poor air circulation, and plenty of food sources like soap scum, skin cells, and dust.
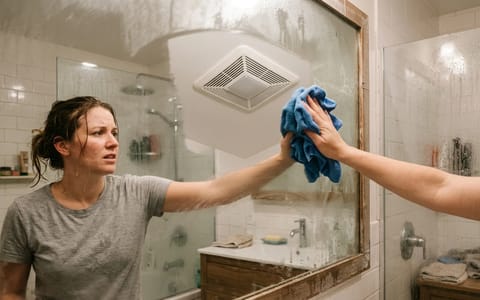
When you take a hot shower, steam rises and hits the cooler surfaces of your walls and ceiling, forming condensation. If your exhaust fan is underpowered, broken, or simply not used long enough, that moisture sits on the drywall or grout for hours. Mold only needs 24 to 48 hours of consistent moisture to begin growing.
Once mold establishes itself on a porous surface like painted drywall, it sends microscopic root structures—called hyphae—deep into the material. This is why a quick wipe with a standard bathroom cleaner often fails to solve the problem long-term.
The Bleach Myth: What Not to Do
For decades, the standard advice for dealing with bathroom mold was to spray it with a heavy dose of household bleach. While household bleach typically contains 5-6% sodium hypochlorite and is an excellent disinfectant for hard, non-porous surfaces like glass or glazed ceramic tile, it is actually one of the worst things you can use on porous surfaces like drywall, wood, or unsealed grout.
Bleach has a high surface tension, which prevents it from soaking into porous materials. When you spray a bleach-and-water solution onto a moldy ceiling, the chlorine stays on the surface, bleaching the mold white so it becomes invisible. You think the mold is gone, but the roots remain completely intact beneath the paint.
Bleaching mold on drywall is like mowing a lawn full of weeds. The surface looks clean, but the roots are just waiting to sprout again.
Worse, the water component of the bleach solution does soak into the drywall. You end up feeding the hidden mold roots the exact moisture they need to bounce back stronger. This is why the dark spots almost always reappear in the exact same locations a few weeks later.
How to Remove Mold From Bathroom Walls and Ceilings
To kill mold at the root on porous surfaces, you need a solution that can penetrate the material. Plain white cleaning vinegar (which contains about 6% acetic acid) is cheap, safe, and highly effective—it kills roughly 82% of mold species. Alternatively, 3% hydrogen peroxide works brilliantly and has a mild bleaching effect that helps lift the stain.
Last year, I tested three different methods on a poorly ventilated guest bathroom ceiling that had developed a severe spotting issue above the shower. The commercial bleach sprays brightened the ceiling immediately but the spots returned in three weeks. The vinegar method, while smelling like salad dressing for an afternoon, killed the roots permanently. We haven't seen a single spot since.
Here is the most effective method for treating painted walls and ceilings:
- Suit up for safety. Put on an N95 mask, rubber gloves, and safety goggles. Scrubbing mold releases thousands of spores into the air, and you do not want to breathe them in.
- Ventilate the room. Open the bathroom window if you have one, and turn on the exhaust fan to pull airborne spores outside.
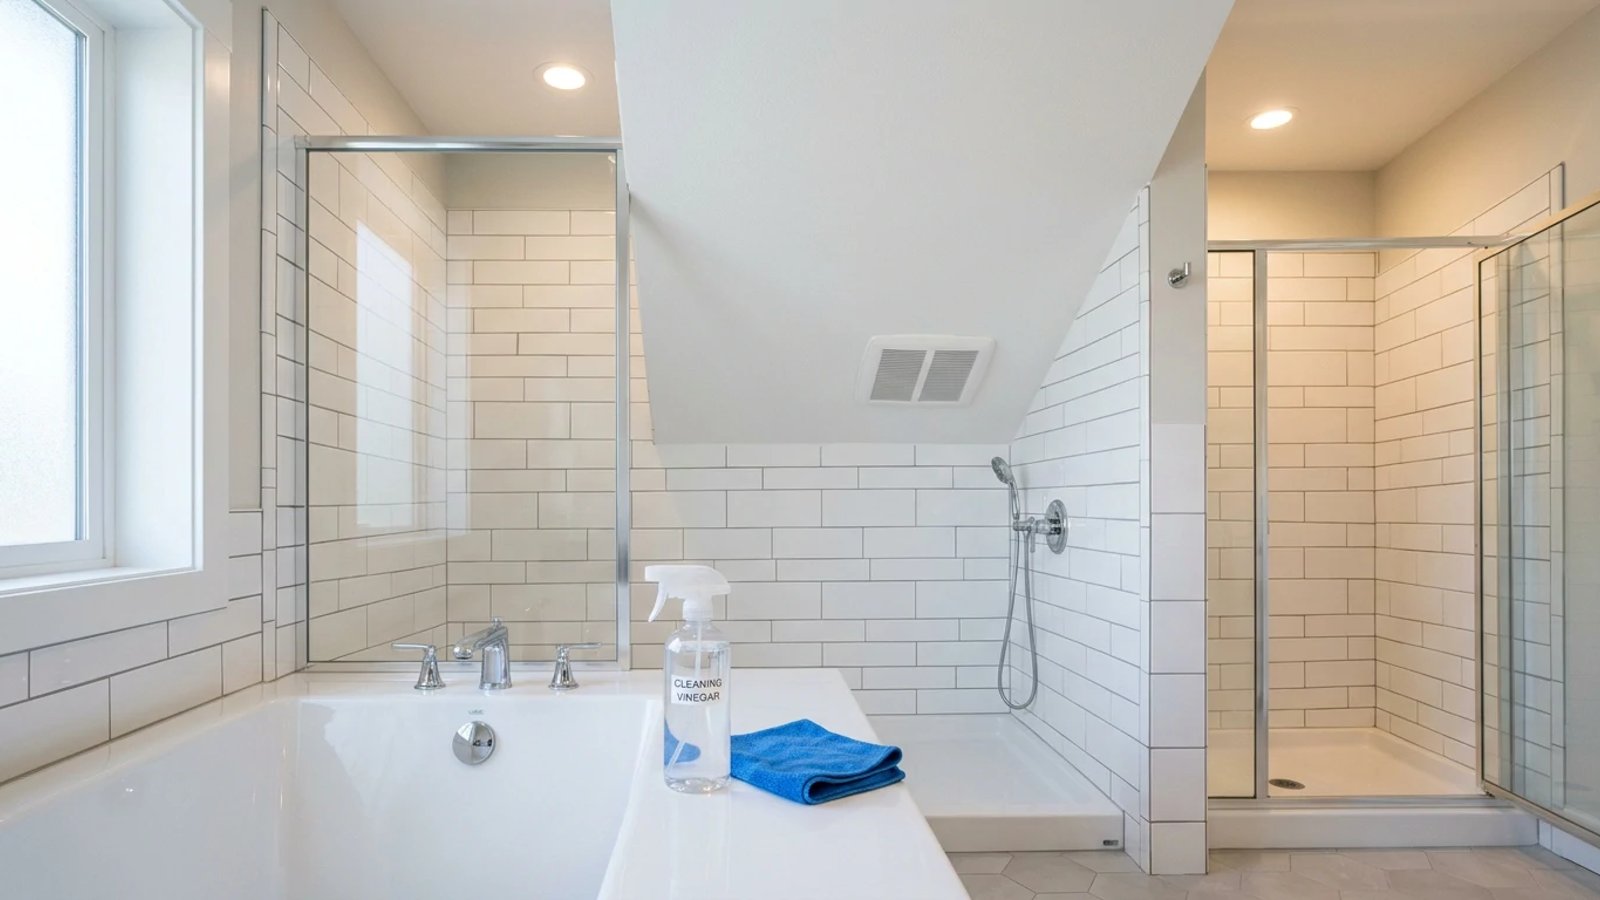
- Apply undiluted vinegar. Pour standard white cleaning vinegar into a clean spray bottle. Do not water it down. Spray the affected area generously until it is visibly wet.
- Let it sit for one hour. This is the most crucial step. The vinegar needs time to penetrate the paint and attack the root structures. Do not rush this.
- Scrub the surface gently. Use a soft-bristle brush or a damp microfiber cloth to wipe away the mold. Avoid stiff brushes on drywall, as they can gouge the wet paint and damage the paper facing of the wallboard.
- Wipe clean and dry. Use a fresh, damp cloth to wipe the area clean, then dry it thoroughly with a towel.
If a dark stain remains after the mold is dead, you can treat the discoloration with a baking soda paste or a hydrogen peroxide spray. If the stain is permanently embedded in the paint, you will need to let the wall dry completely for 48 hours, apply a stain-blocking, mold-killing primer (like Kilz or Zinsser), and repaint the ceiling.
Tackling Sealed Tile, Grout, and Caulk
The rules change slightly when you move from the ceiling down to the shower surround. Glazed ceramic or porcelain tiles are non-porous, meaning mold can only sit on the surface. Grout and silicone caulk, however, require different approaches.
For tile and sealed grout, a paste made of baking soda and water works wonders. Apply the paste to the grout lines, spray lightly with vinegar to create a foaming action, and let it sit for 15 minutes. Scrub vigorously with an old toothbrush or a stiff nylon grout brush, then rinse with hot water.
Silicone caulk—the rubbery sealant around the base of the tub or in the corners of the shower—is notoriously difficult. Once mold gets behind or inside silicone caulk, it is nearly impossible to scrub out. The caulk often turns black from the inside out.
If your caulk is deeply stained and scrubbing does not work, the only permanent solution is replacement. You will need to strip out the old caulk using a utility knife and a caulk-removal tool, clean the gap thoroughly with rubbing alcohol to kill any remaining spores, dry it completely, and apply a fresh bead of high-quality, 100% silicone caulk designed specifically for baths and kitchens. Look for products labeled "mold-resistant," as they contain biocides that help prevent future growth.
Long-Term Prevention: Stopping the Spores
Learning how to remove mold from bathroom surfaces is useless if you do not change the environment that allowed it to grow. Moisture control is the only way to stop mold from returning. You need to make your bathroom a hostile environment for spores.
The most important tool in your bathroom is the exhaust fan. A common mistake is turning the fan off the moment you step out of the shower. The air in the room is still saturated with moisture at that point. You must leave the exhaust fan running for at least 30 minutes after your shower ends to fully exchange the humid air with dry air from the rest of the house.
Building a few simple habits can drastically reduce the moisture load in your bathroom:
- Use a squeegee: Keep a small squeegee in the shower. Taking 30 seconds to wipe down the tile walls and glass doors sends excess water straight down the drain instead of letting it evaporate into the room's air.
- Leave the door open: When you finish in the bathroom, leave the door open a few inches. This allows the HVAC system to pull the humid air out and circulate dry air in.
- Spread out towels: Bunching up damp towels on a single hook prevents them from drying. Hang them flat across a towel bar so moisture can escape quickly.
- Wash your shower curtain: Fabric shower curtains and plastic liners trap moisture and soap scum in their folds. Run them through the washing machine on a hot cycle once a month.
Dealing with bathroom mold is a chore nobody enjoys, but by ditching the bleach, using the right penetrating cleaners, and managing your humidity, you can clean it once and be done with it. A dry bathroom is a clean bathroom, and taking control of the moisture is the key to keeping those dark spots away for good.
- Swap bleach for plain white vinegar when treating painted walls and ceilings to ensure you kill the mold roots.
- Always wear an N95 mask, rubber gloves, and safety goggles to protect yourself from airborne spores.
- Fix the root cause by lowering humidity—use a squeegee daily and upgrade your exhaust fan if it fails the paper test.