Dirt Crawl Spaces: How to Choose a Crawl Space Liner
A heavy-duty crawl space liner stops ground moisture from rotting your floor joists and ruining your indoor air. Learn how to choose the right thickness and install it properly.
Full guide Foundation & Structure Learn how to spot dangerous foundation cracks and protect your home from costly structural damage.If your house smells slightly musty after a few days of heavy rain, the problem is likely right under your feet. Homes built over dirt crawl spaces are notorious for trapping damp, stagnant air. That moisture doesn't just stay in the dirt—it slowly creeps up into your living areas, warping hardwood floors, peeling paint, and driving up your air conditioning bills.
The most effective fix for ground-source moisture is installing a heavy-duty crawl space liner. By physically blocking the damp earth from the air above, you can permanently dry out the space, protect your home's structural framing, and drastically improve your indoor air quality.
Why Exposed Dirt Floors Are a Problem
A dirt crawl space acts like a massive sponge beneath your home. Even if the dirt looks dry on the surface, the earth below is constantly releasing water vapor. A single home can release up to 15 gallons of water vapor into its crawl space every day! Thanks to a building science principle known as the "stack effect," warm air rising through your home and escaping out the attic creates a vacuum at the bottom of the house. This vacuum pulls replacement air straight up from the crawl space.
Up to 50% of the air you breathe on the first floor of your home comes directly from the crawl space. If that air is passing over damp dirt, it carries moisture, mold spores, and soil gases right into your living room. The EPA guidelines on indoor air quality stress that managing moisture at the foundation level is the single most important factor in controlling indoor mold.
Beyond air quality, moisture destroys houses. When the humidity in a crawl space stays above 70%, the moisture content of the wooden floor joists rises. Once the wood hits 20% moisture content, wood-destroying fungi begin to break down the fibers, leading to soft, rotting floors. Damp wood also acts as a magnet for termites, carpenter ants, and other pests.
What Exactly is a Crawl Space Liner?
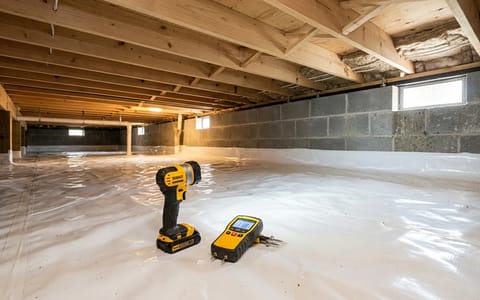
When people hear "vapor barrier," they often picture the thin, black plastic sheeting sold in the paint aisle of the local hardware store. A standard 6-mil polyethylene sheet is the bare minimum required by most local building codes to cover dirt floors. However, it is unreinforced, meaning it stretches, tears easily, and degrades over time.
A true crawl space liner—the kind used for professional encapsulation—is an entirely different product. These heavy-duty liners are usually composed of multiple layers of high-density polyethylene extruded around a woven reinforcing cord grid. This internal mesh stops punctures from spreading into long tears.
A true crawl space liner doesn't just cover the dirt—it mechanically seals the earth away from your home's framing.
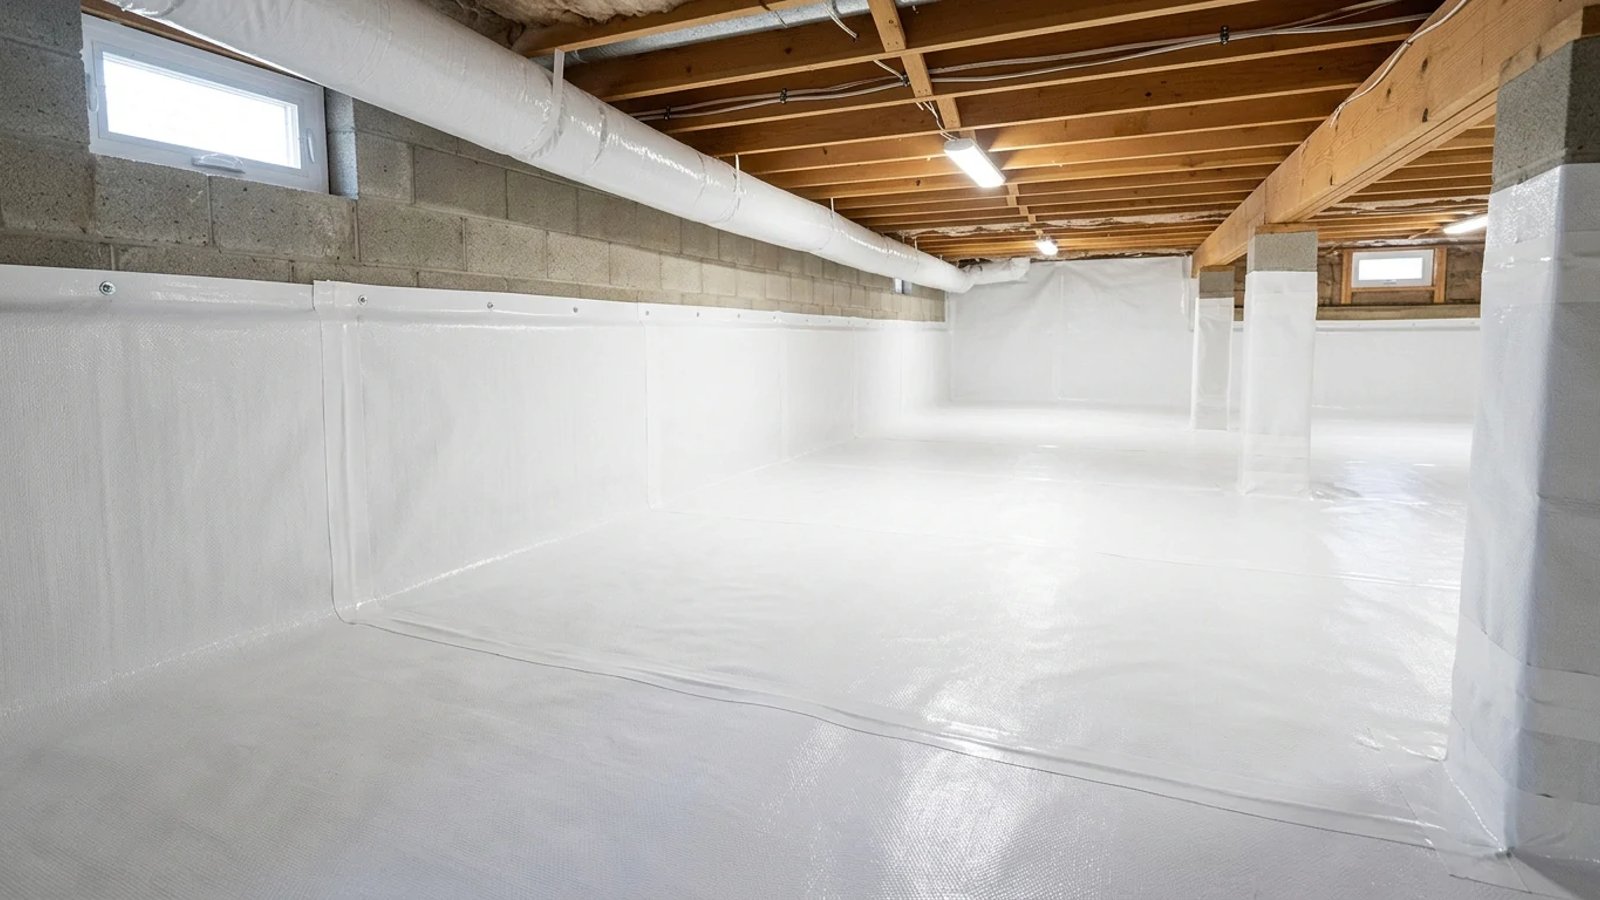
Unlike loose sheets of plastic that just sit on the dirt, a heavy-duty liner is designed to be fully sealed. The overlapping seams are permanently taped, and the edges are mechanically fastened to the foundation walls and masonry support piers, creating an airtight, waterproof bathtub effect.
How Thick Should My Crawl Space Liner Be?
Crawl space liners are measured in "mils" (one mil equals one-thousandth of an inch). Choosing the right thickness depends entirely on how much traffic the space will see after the installation is complete.
10-Mil to 12-Mil Liners: This is the sweet spot for a standard encapsulation where you rarely enter the crawl space. A 12-mil reinforced liner provides excellent moisture blocking and is tough enough to withstand the occasional trip down there to inspect a pipe. It is also lighter and easier to fold and maneuver in tight spaces during a DIY installation.
20-Mil Liners: This is commercial-grade material. If you plan to use your crawl space for storing plastic bins of holiday decorations, or if your HVAC air handler is located down there requiring service technicians to crawl across it annually, you need 20-mil. It is incredibly stiff and heavy, but it can handle dropped tools, heavy kneepads, and sliding boxes without puncturing.
How Do You Install a Crawl Space Liner?
Laying the plastic is actually the fastest part of the job. The real effort in crawl space encapsulation is the preparation. If you leave sharp rocks or old construction debris under the liner, the weight of someone crawling over it later will punch holes straight through the material.
Here is the standard process for a complete installation:
- Clean and level the dirt. Rake out large rocks, roots, and any old wood scraps. Fill in low spots so the ground is relatively flat.
- Install a dimple mat (optional). For heavy-traffic areas, laying a plastic dimple mat over the dirt before the liner provides a cushioning layer and allows any trapped ground moisture to drain freely beneath the plastic.
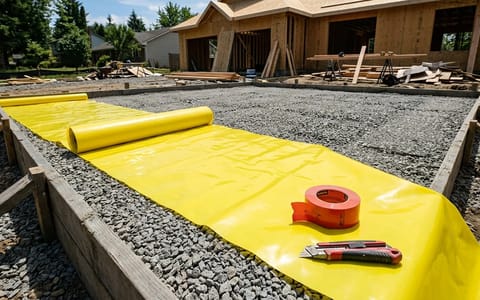
- Lay out the floor liner. Roll out the heavy plastic across the main floor, overlapping adjacent runs by at least 12 inches.
- Tape the floor seams. Use a specialized 4-inch wide waterproof crawl space seam tape. Press firmly along the entire tape line to ensure there are no air bubbles or wrinkles where moisture could escape.
- Run the liner up the walls. Extend the plastic 6 to 12 inches up the concrete block foundation walls and around all support piers.
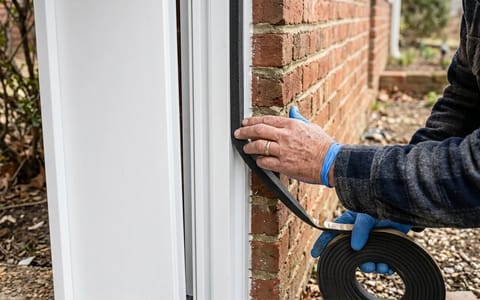
- Secure the wall edges. Use double-sided butyl tape to stick the liner to the masonry. For a permanent hold, attach a plastic termination bar over the top edge of the liner, securing it into the concrete with masonry fasteners every 12 to 18 inches.
Dealing with Support Piers and Columns
One of the most common mistakes homeowners make is rolling the liner flat across the floor and simply cutting slits to slide it around the masonry support piers. Leaving gaps around the columns defeats the entire purpose of the vapor barrier.
Moisture will wick up through the concrete footings of those columns and evaporate directly into the air. To stop this, you must cut separate "collars" of liner material. Wrap these pieces entirely around the base of each column, extending them a few inches up the block. Tape the bottom edge of the collar to the main floor liner, and seal the top edge to the column using butyl tape.
When to Call a Professional
Installing a moisture barrier is hard, dirty work, but it is fundamentally just cutting and taping heavy plastic. Most able-bodied homeowners can handle the physical installation. However, a crawl space liner is only designed to stop water vapor, not liquid water.
Additionally, if you live in an area with high radon levels, sealing the dirt floor can sometimes trap soil gases and force them up into the house through different pathways. A professional mitigation company can install a perforated PVC pipe beneath the liner, attached to an exhaust fan that safely vents soil gases outside the home.
Upgrading a dirt crawl space is one of the highest-return projects you can tackle for the long-term health of your home. Once the heavy lifting is done and the seams are taped, the maintenance is incredibly low. Just grab a flashlight once a year, pop your head down the access door, and verify the tape seams are still holding tight and the space remains dry.
- Up to 50% of the air on your first floor originates in your crawl space, bringing ground moisture and soil gases with it.
- Always clear sharp rocks and debris from the dirt before laying any plastic to prevent hidden punctures.
- Leave a 3-inch gap at the top of your foundation wall when running the liner up, so pest control inspectors can spot termite tunnels.
- A crawl space liner only stops water vapor. If you have standing puddles after a rainstorm, you need a drainage system installed first.