How to Install Foam Weather Stripping on Doors & Windows
Stop drafts and lower your energy bills with this beginner-friendly guide to choosing, prepping, and installing foam weather stripping on windows and doors.
Full guide Windows & Doors Learn how to spot energy leaks, fix drafts, and decide when to replace your windows and doors.Most homeowners do not think about their window seals until that first cold evening when a clear, icy breeze blows right through the living room. Drafty windows and doors force your heating and cooling systems to work overtime, driving up utility bills and leaving rooms noticeably uncomfortable. The fastest, most cost-effective way to stop that air leak is by installing foam weather stripping.
Last October, I noticed a distinct chill sitting next to my own living room window. A quick inspection revealed the original 15-year-old seal had completely dry-rotted. A $10 roll of heavy-duty foam sealed the gap in under twenty minutes and completely changed the room's temperature. It is a highly satisfying, low-cost project that requires zero specialized skills.
Why Is My Window or Door Drafty?
Over time, houses settle. Wooden frames expand during humid summers and contract during dry winters. This constant movement causes original factory seals to compress, crack, or peel away, often creating noticeable gaps of 1/16th of an inch or more. Even a tiny 1/8-inch gap around the perimeter of a standard door is equivalent to having a 5-inch hole punched straight through your wall.
According to the EPA's Energy Star program, effectively sealing leaks and adding proper insulation can save homeowners up to 11% on total energy costs. Finding those leaks is the first step.
Decoding the Weatherproofing Aisle: Foam vs. Rubber
Walking into the weatherproofing aisle at a hardware store can be overwhelming. There are dozens of profiles, materials, widths, and thicknesses. Buying the wrong type usually results in a window that will not lock or a door that will not latch.
Standard Open-Cell Foam Weather Stripping
This is the cheapest option, usually costing around $5 to $8 for a 17-foot roll. It is highly compressible, making it excellent for tight, irregular gaps (like warped window sashes) where there isn't much friction. The downside? It acts like a sponge. It absorbs moisture and generally breaks down or flakes apart after a year or two.
Heavy-Duty Closed-Cell Foam
Made from denser PVC or polyurethane sponge, closed-cell foam does not absorb water. It is firmer and lasts significantly longer than open-cell foam. This is the ideal choice for the bottom of double-hung windows or the tracks of sliding windows.
Rubber Weather Strip (EPDM)
Often sold in a hollow tubular profile, EPDM rubber is highly durable. It springs back to its original shape instantly and withstands the constant friction of opening and closing. While it costs a bit more ($15 to $25 per roll), it is the absolute best choice for exterior door frames.
Surface Prep: The Secret to Making It Stick
The number one reason new weather stripping fails is poor surface preparation. You absolutely cannot stick new adhesive over old, crumbling foam, dust, or greasy fingerprints. I've learned the hard way that skipping the final cleaning step guarantees the strip will peel off within a week.
First, use a plastic putty knife to scrape off the old foam. Plastic is crucial here, as a metal scraper will easily gouge wooden frames or scratch vinyl windows. Once the bulk of the old material is gone, you will likely be left with a stubborn strip of yellowed adhesive.
Apply an adhesive remover, like Goo Gone or WD-40, to a rag and rub it into the sticky residue. Let it sit for about five minutes to dissolve the glue, then scrape it away. Finally—and this is the most important step—wipe the entire track vigorously with a clean rag soaked in 90% isopropyl rubbing alcohol. The alcohol strips away the oily residue left by the adhesive remover and evaporates in seconds, leaving a bone-dry, perfectly clean surface for the new foam to grab onto.
How to Install Foam Weather Stripping on Windows
Windows require a seal that fills the drafty gap without making the sash impossible to close. Measure the gap when the window is fully closed and locked. If the gap is 1/4-inch wide, buy 1/4-inch thick foam. Applying weather stripping is best done when the outside temperature is above 50°F, as cold weather prevents the acrylic adhesive from curing properly.
- Measure the window sash. Use a tape measure to get the exact width of the bottom sash and the height of the side channels.
- Cut the foam to length. Use sharp scissors to cut one continuous piece for the bottom and two pieces for the sides.
- Peel back the first inch of backing. Do not remove the entire paper backing at once, or the long strip of foam will stick to itself and stretch out of shape.
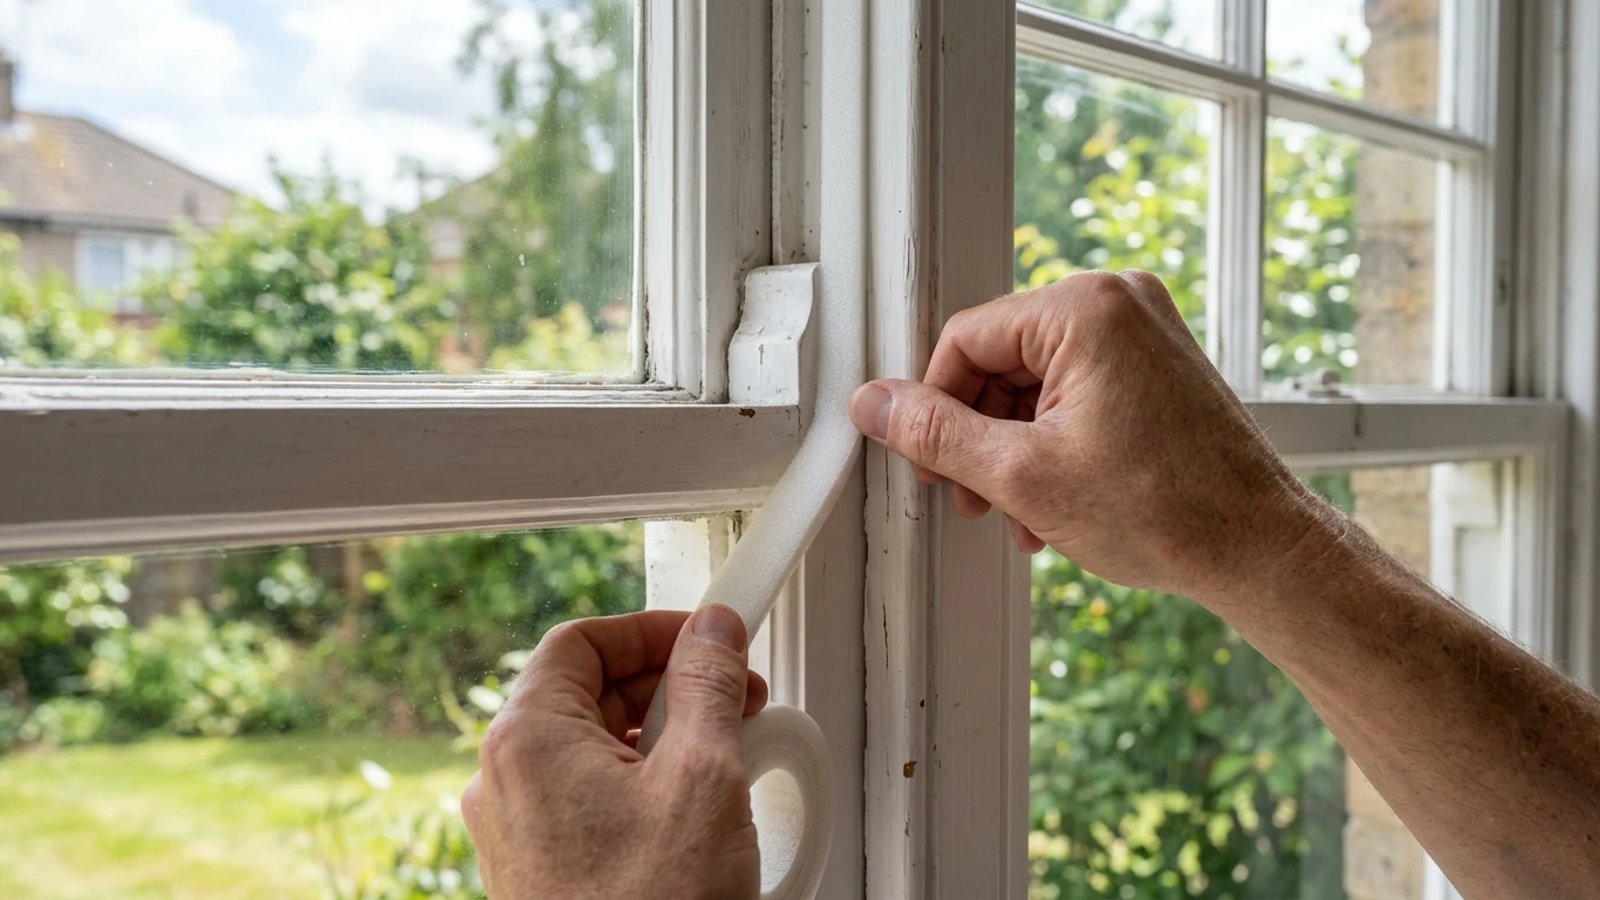
- Press the foam into the channel. Align the sticky side against the window sill where the bottom of the sash makes contact. Press firmly with your thumb.
- Work your way across. Slowly peel the paper backing away with one hand while pressing the foam down smoothly with the other.
- Test the lock. Close and lock the window. It should feel snug and block out the light, but it should not require excessive body weight to force the latch closed.
The golden rule of weather stripping: never stretch the foam as you apply it. Stretched foam will eventually shrink back to its normal size, leaving gaping holes at the corners.
Common Weather Stripping Mistakes (and How to Avoid Them)
Even though this is a beginner-friendly project, a few common errors can ruin your hard work.
Buying material that is too thick: If you buy 1/2-inch foam for a 1/8-inch gap, you will not be able to close your door or lock your window. Always measure the gap first. If you are unsure, buy a thinner profile; you can always add a second thin strip, but you cannot compress a thick strip beyond its physical limit.
Applying it to the wrong surface: On doors, weather stripping should be applied to the door stop (the raised molding inside the frame), not the face of the door itself. On double-hung windows, apply it to the bottom of the lower sash or the sill, and the face of the upper sash where the two pieces of glass meet (the meeting rail).
Blocking weep holes: Modern vinyl and aluminum windows have small rectangular slots on the exterior sill called weep holes. These allow trapped rainwater to drain out. Never cover these holes with foam, or water will back up and flood your interior sill.
Applying Weather Stripping to Door Frames
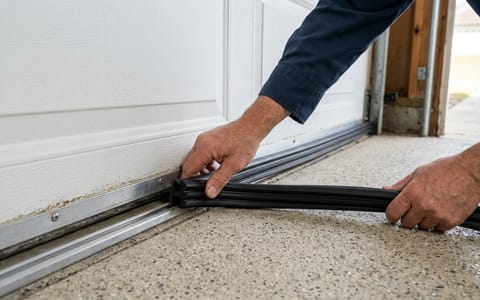
Exterior doors deal with heavy traffic, driving rain, and high friction. Standard open-cell foam will shred here within a month. This is where you want to use a heavier closed-cell foam or, ideally, an EPDM rubber profile.
You will apply the strip to the door stop. This is the raised piece of wood in the center of the door jamb that the door rests against when it is fully closed.
- Clean the door stop molding. Scrape away old material and wipe down the top and sides of the frame with rubbing alcohol.
- Measure and cut the top piece. Always install the top horizontal piece first so the side pieces can butt up tightly against it, preventing corner drafts.
- Apply the top strip. Peel the backing and press the strip onto the door stop, keeping it flush with the inner edge where the door meets the wood.
- Measure the side pieces. Measure from the bottom of the newly installed top strip down to the metal threshold and cut two lengths.
- Install the side seals. Start at the top corners and work your way down to the floor, pressing firmly every few inches to set the adhesive.
- Check the deadbolt. Close the door and turn the deadbolt. If the lock binds, you may need to press the weather stripping a bit flatter near the strike plate.
Taking an hour on a weekend afternoon to seal your home's envelope pays immediate dividends. The rooms will feel warmer, the furnace will cycle less frequently, and outside street noise will even drop a few decibels. Grab a roll of heavy-duty foam, a bottle of rubbing alcohol, and start with your draftiest room first.
- Surface preparation is non-negotiable; old adhesive and dust will cause new seals to fail immediately.
- Match the material to the job: standard foam for tight, low-movement gaps, and rubber for high-friction doors.
- Apply weather stripping when the temperature is above 50°F to ensure the adhesive cures properly.
- Measure your gaps while the window or door is closed and locked to buy the correct thickness.