You Are Helping With Some Repairs at Home: Where to Start
A prioritized weekend punch list for tackling small, high-impact home repairs when assisting family or friends.
Visiting family or friends often turns into an impromptu maintenance session. Before you know it, you are helping with some repairs at home. Without a clear plan, a weekend of good intentions usually results in multiple frustrating trips to the hardware store and a pile of half-finished projects.
This guide offers a prioritized, room-by-room battle plan. By focusing on common, low-cost fixes, you can improve daily living and safety for your loved ones without needing a contractor's license or a massive budget.
The Home Helper's Toolkit: Quick Fixes for Every Room
What Should You Pack in Your Helper's Toolkit? 8 Essential Tools!
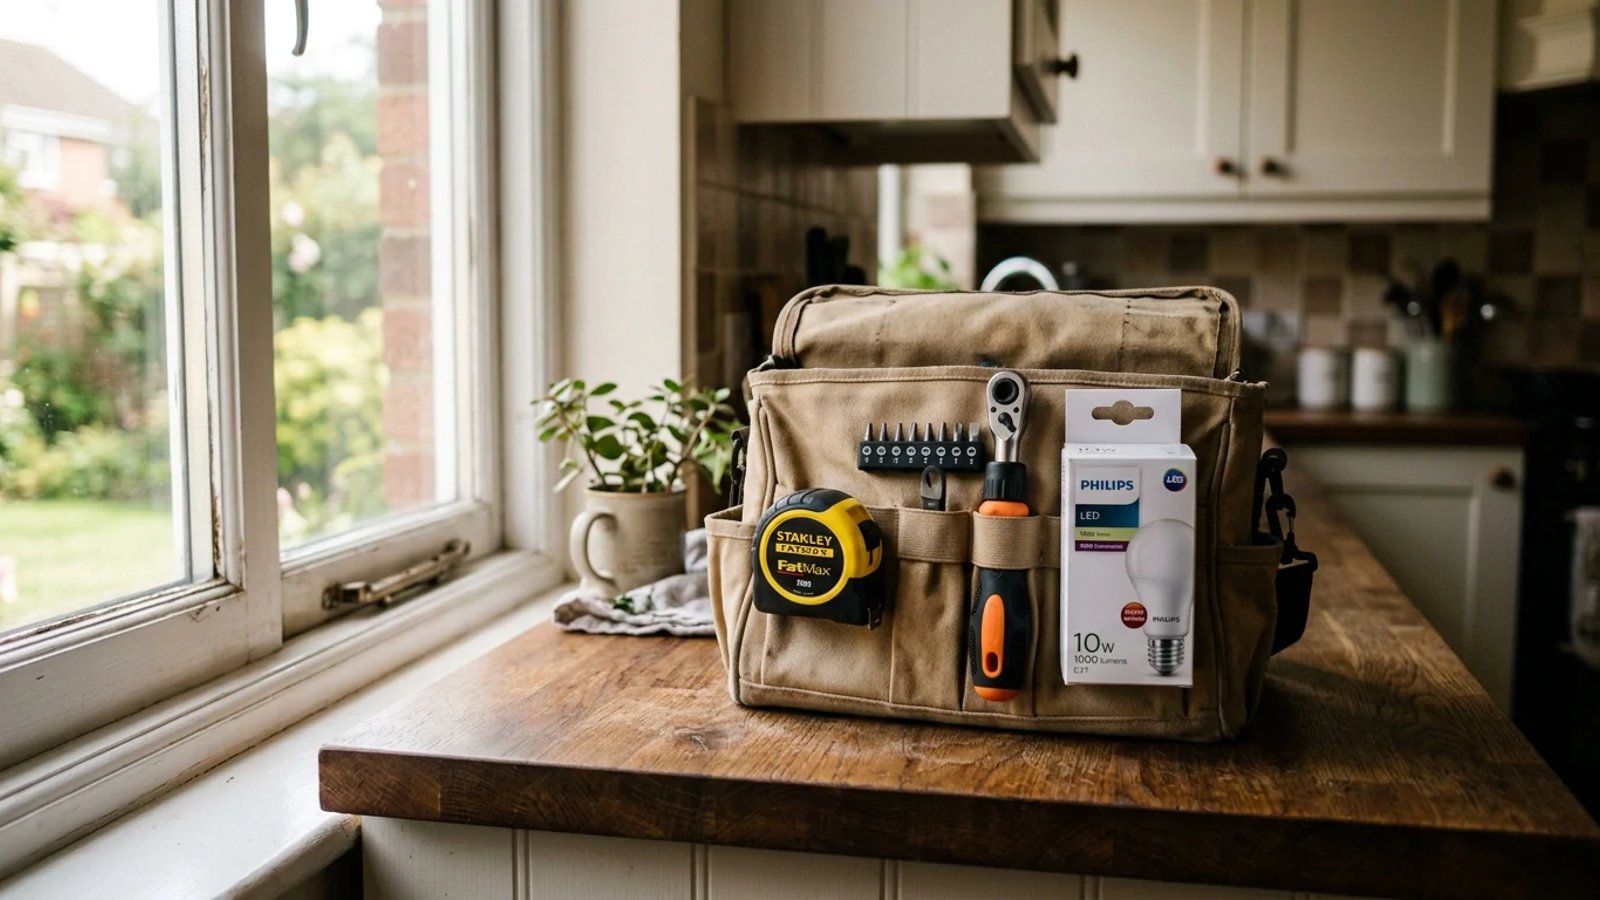
You cannot fix much if you spend half the morning searching through junk drawers for a usable Phillips head screwdriver. Bring a small, dedicated tool bag with you. Having your own trusted gear saves hours of frustration.
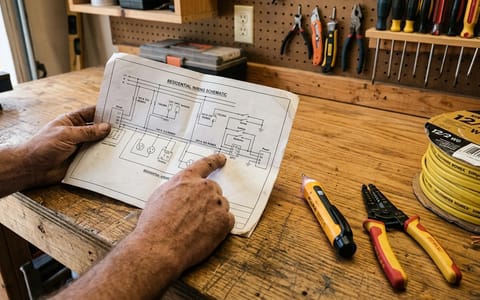
Pack a multi-bit screwdriver, a pair of slip-joint pliers, an adjustable wrench, a tape measure, and a utility knife. Throw in a small can of WD-40 or white lithium grease, a roll of Teflon tape, and a voltage tester pen. These basics will cover 90 percent of small household annoyances.
Safety First: Detectors and Filters
Start with life-safety items. These are the invisible systems that homeowners often forget about until something goes wrong. Last summer, I noticed my parents' hallway smoke alarm was completely yellowed with age. When I pulled it down, the manufacturing date was from 2011.
According to National Fire Protection Association (NFPA) guidelines, smoke alarms must be replaced every 10 years. The sensors degrade over time. If the units are older than a decade, drive to the hardware store, spend $20 to $30 per unit, and swap them out.
Beyond smoke detectors, ensure carbon monoxide (CO) detectors are also up to date. These silent killers are odorless and invisible, making CO detectors vital. Like smoke alarms, they have a lifespan, usually around 5-7 years. Check the manufacturing date on the back of each unit and replace any that are past their prime. Install them near sleeping areas and on every level of the home.
Next, locate the HVAC return vents and check the air filters. A clogged filter suffocates a furnace or air conditioner, driving up utility bills and shortening the equipment's lifespan. Swap in a fresh MERV 8 filter, and write the current date on the cardboard edge with a marker so they know exactly when it was last changed.
While you're checking detectors, don't forget fire extinguishers. Every home should have at least one easily accessible fire extinguisher, ideally in the kitchen. Check the pressure gauge to ensure it's in the green zone, indicating it's charged and ready. If it's old or discharged, it's a simple and inexpensive replacement that could save lives and property.
Quick Plumbing Wins: Flappers and Drains
Plumbing issues intimidate many homeowners, but the most common annoyances require zero specialized plumbing skills. A running toilet is usually caused by a warped or mineral-coated rubber flapper inside the tank. Fixing it takes five minutes and costs about $10.
- Turn off the water. Twist the oval valve behind the toilet base clockwise until it stops.
- Flush the toilet. Hold the handle down to drain as much water from the tank as possible.
- Unhook the old flapper. Disconnect the small chain from the flush lever, and pull the rubber flapper ears off the pegs on the overflow tube.
- Install the new flapper. Push the new ears onto the pegs, reattach the chain with a slight bit of slack, and turn the water back on.
Move on to the bathroom sinks. If a sink drains slowly, the culprit is almost always a mass of hair and soap scum caught around the pop-up stopper. Skip the harsh, corrosive liquid drain chemicals. Instead, use a $5 plastic zip-it tool. Slide the barbed plastic strip down the drain, twist, and pull up. It is a gross job, but it restores full water flow instantly.
Another common plumbing annoyance is a leaky faucet. Often, a persistent drip, drip, drip is caused by a worn-out washer or O-ring inside the faucet handle. While it might seem daunting, many modern faucets have easily replaceable cartridges. Look up the faucet's brand and model online for specific instructions. Turning off the water supply under the sink is always the first step for any faucet repair.
Kitchen & Laundry Room Quick Checks
The kitchen and laundry room are workhorses of the home and deserve some attention. Start with the garbage disposal. If it's humming but not grinding, it's likely jammed. Turn off the power, then use an Allen wrench in the hole at the bottom center of the disposal to manually rotate the impellers until the jam clears. A little baking soda and vinegar can also help freshen it up.
Next, check the range hood filters. These greasy mesh filters trap cooking oils and odors. Remove them, give them a good scrub with hot, soapy water, or run them through the dishwasher if they're dishwasher-safe. Clean filters improve air quality and prevent grease buildup in the kitchen.
Finally, consider the dryer vent. A clogged dryer vent is a major fire hazard and reduces your dryer's efficiency. Disconnect the vent hose from the back of the dryer and the wall. Use a long brush or even a leaf blower to clear out any lint buildup. This simple task can significantly reduce fire risk and help clothes dry faster.
Electrical & Lighting Upgrades
Small electrical fixes can make a big difference in safety and aesthetics. Walk around the house and gently wiggle any electrical outlets and light switches. If they feel loose or wobble, turn off the power at the breaker, then tighten the mounting screws on the device itself. This prevents potential arcing and ensures a secure connection.
Check for any missing or broken cover plates on outlets and switches. These plastic plates protect against accidental contact with live wires and improve the overall look of a room. They are very inexpensive to replace and take seconds to install with a single screwdriver.
Test all Ground Fault Circuit Interrupter (GFCI) outlets, typically found in bathrooms, kitchens, laundry rooms, and garages. Press the "Test" button, and the "Reset" button should pop out, cutting power to the outlet. Press "Reset" to restore power. If it doesn't trip, the GFCI is faulty and should be replaced by a qualified electrician to ensure safety in wet areas.
Exterior Maintenance: Guarding Against the Elements
Don't forget the outside of the house! A little exterior maintenance can prevent major problems down the road. Start by checking the gutters. Clogged gutters can lead to overflowing water, which can damage roofing, siding, and even the foundation. Clear out leaves, twigs, and debris, ensuring downspouts are also free-flowing.
Walk around the perimeter of the house and inspect the caulking around windows and doors. Over time, caulk can crack, peel, or shrink, creating drafts and allowing moisture to seep in. Use a utility knife to remove old, failing caulk and apply a fresh bead of exterior-grade caulk. This improves energy efficiency and protects against water damage.
Check for any loose or damaged siding or trim. Even a small gap can allow water infiltration, leading to rot or pest infestations. A bit of exterior-grade caulk or a few strategically placed nails can often secure these elements, preventing further damage and maintaining your home's curb appeal.
Hardware and Daily Annoyances
Once the safety and plumbing items are handled, focus on the high-traffic annoyances. These are the tiny flaws the homeowner has likely grown blind to, but fixing them brings immediate relief.
Small fixes to daily annoyances make a house feel cared for and comfortable again.
Take your screwdriver into the kitchen. Open and close every cabinet door. Tighten any loose hinge screws. If a screw spins freely and won't bite into the wood, remove it, dip a wooden toothpick in wood glue, and shove it into the hole. Snap off the excess toothpick flush with the cabinet, and drive the screw back in. The toothpick gives the screw threads new wood to grip.
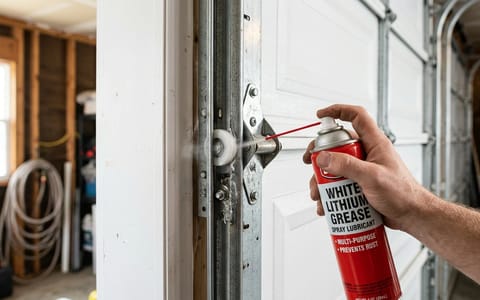
Next, walk the house and listen for squeaky door hinges. Tap out the hinge pins one by one, wipe them clean, and coat them lightly with white lithium grease before tapping them back in. While you're at the doors, check for any loose doorknobs. A wobbly doorknob is annoying and can eventually fall off. Many doorknobs have small set screws on the side or underneath that can be tightened with an Allen wrench or a small screwdriver.
Finally, check every light fixture and lamp. Replace any burnt-out incandescent bulbs with bright, energy-efficient LEDs, particularly in stairwells and hallways to prevent tripping hazards. Also, take a moment to patch any small nail holes or scuff marks on walls using a little spackle and a putty knife. These minor cosmetic touch-ups can make a room feel much fresher.
Leaving the House Better Than You Found It
Wrap up the weekend by doing a final walk-through. Make sure all the old parts, empty boxes, and dirty HVAC filters are in the trash. Wipe down the bathroom sink where you cleared the drain. By knocking out this specific, targeted list, you leave the house significantly safer, quieter, and more comfortable than when you arrived.
- Bring a multi-bit screwdriver, adjustable wrench, and pliers to save time.
- Smoke and CO detectors expire after 10 years and must be replaced entirely, not just the batteries.
- A $10 toilet flapper replacement takes five minutes and stops a constantly running toilet.
- A simple zip-it tool clears bathroom sink clogs faster and safer than harsh liquid drain chemicals.