Got a Water Stain on Ceiling? How to Find the Leak and Fix It
Don't just paint over that ugly brown spot. Learn how to track down the hidden leak causing your ceiling water stain, and discover the exact steps to repair and prime the drywall so the stain never bleeds through again.
Full guide Roofing Learn how long shingles last, how to spot leaks early, and how to decide between a quick repair and a full roof replacement.Discovering a water stain on ceiling is one of those moments that can make a homeowner's heart sink. You walk into your living room, look up, and there it is: an ugly, irregular brown ring on your otherwise pristine white drywall. Your mind starts racing through worst-case scenarios involving tearing off the roof or ripping out the upstairs bathroom.
While a ceiling stain is certainly a warning sign that requires immediate attention, it does not always mean a catastrophic repair bill. The most important thing to understand is that the stain itself is just a symptom. Before you even think about grabbing a paintbrush, you have to play detective.
Fixing the drywall is actually the easy part. The real work is finding out where that water is coming from and stopping it. If you skip the investigation and go straight to the cosmetic repair, you will be staring at a brand new stain in a matter of weeks, and the hidden damage inside your ceiling cavity will only get worse.
Why Does a Water Stain on Ceiling Turn Brown?
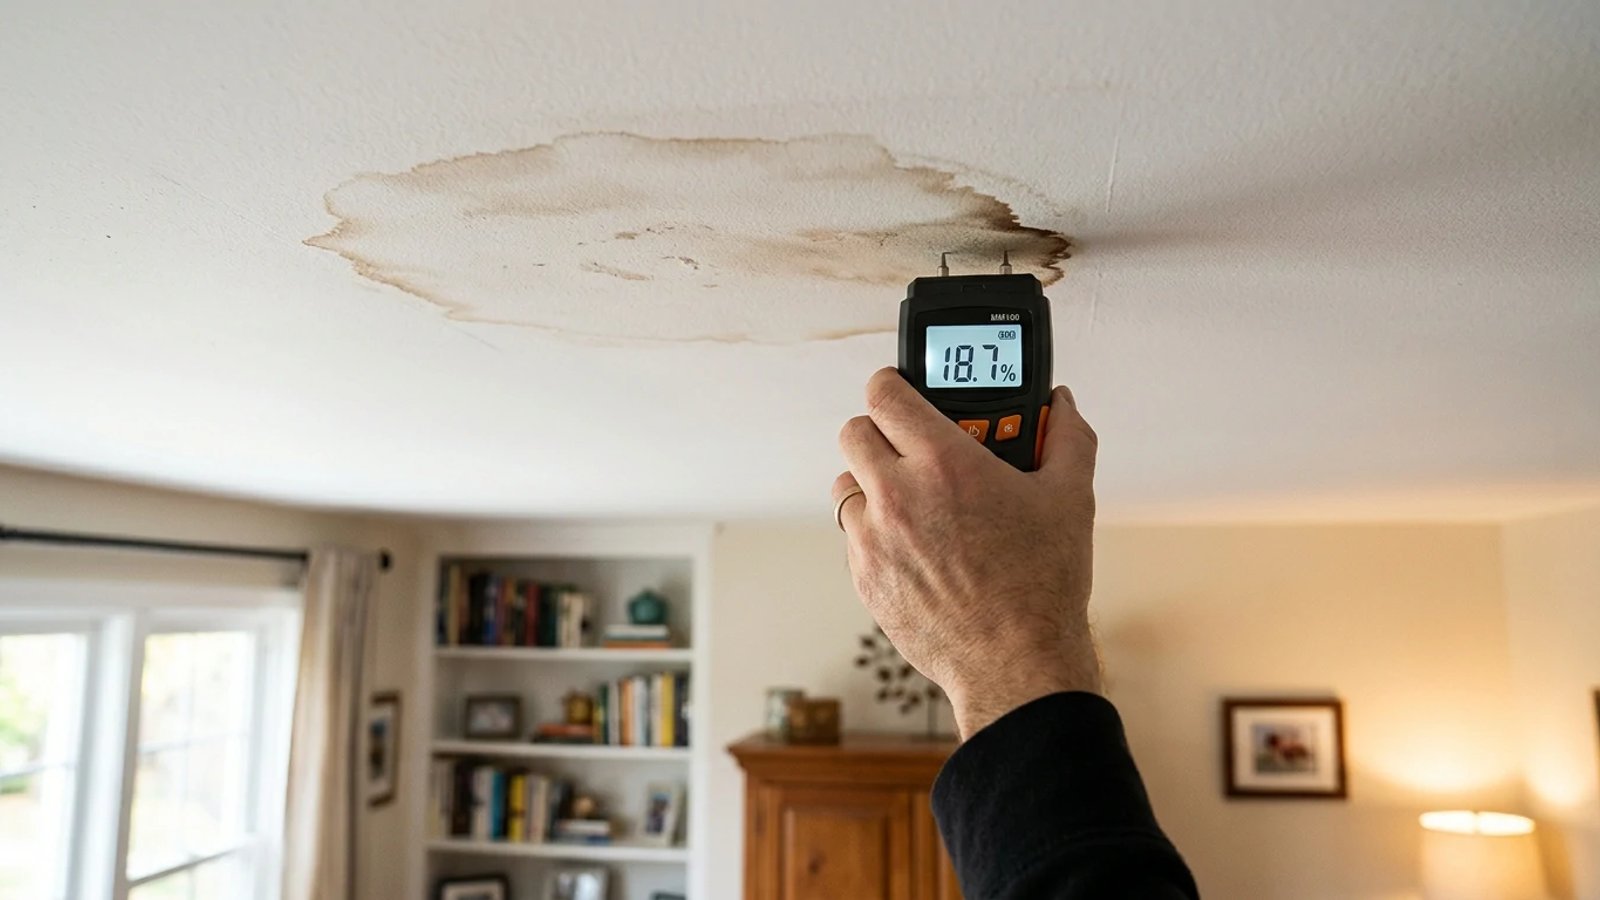
When you see that distinct rusty-brown outline on your ceiling, often starting as a small, irregular patch just a few inches across, you might wonder if it is rust from a pipe or dirty water from a roof. While that is possible, the color usually comes from the house framing itself.
As water drips onto the top side of your ceiling drywall, it pools. While it sits there, it absorbs tannins (natural brown compounds found in wood) from your floor joists or roof trusses. It also dissolves minerals found in the gypsum core of the drywall. As the water slowly seeps through to the painted side of the ceiling and evaporates into your room, it leaves those dissolved minerals and tannins behind on the surface.
This chemical process is exactly why you cannot simply paint over a water stain with standard ceiling paint. Standard interior paint is water-based. When you brush it over the stain, the water in the fresh paint reactivates the dried tannins. Within a few hours, the brown ring will bleed right through your fresh coat of paint, looking exactly as it did before.
First Things First: Is the Ceiling Safe?
Before you start poking around, you need to assess the immediate danger. Water and electricity do not mix, and wet drywall is incredibly heavy.
If the water stain is located around a light fixture, a ceiling fan, or a smoke detector, go straight to your electrical panel and turn off the breaker for that room. Water can travel along the outside of electrical wires and pool inside the metal junction boxes, creating a serious shock hazard.
Next, look at the shape of the ceiling. Is the drywall sagging or bowing downward? A 4-by-8-foot sheet of standard half-inch drywall weighs about 50 pounds when dry. When saturated with water, it can hold several gallons, adding 30 to 40 extra pounds of dead weight. If the ceiling is visibly bulging, do not stand directly under it. Place a bucket underneath and use a screwdriver to poke a small hole in the center of the bulge. This allows the pooled water to drain out predictably, relieving the weight and preventing a massive, messy ceiling collapse.
How to Find the Leak Causing Your Water Stain on Ceiling?
Water is notoriously tricky to track. It takes the path of least resistance. A leak from a roof vent might hit a rafter, run down the wood for six feet, drop onto a plumbing pipe, run another three feet, and finally drip onto your ceiling. The stain on your ceiling is rarely directly underneath the actual hole.
To trace the leak, you need to look at what is in the room directly above the stain, and then work outward.
Investigating the Bathroom Above
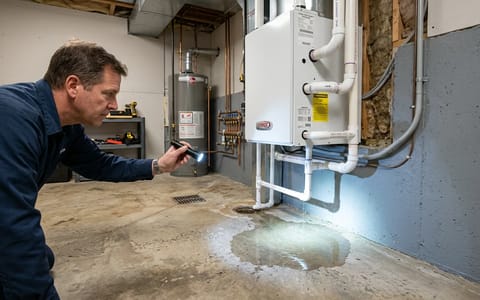
If there is a bathroom directly above the water stain on the ceiling, you have a prime suspect. Plumbing leaks are the most common cause of interior water damage.
- Check the toilet wax ring: If the stain is somewhat near the toilet above, the wax ring might have failed. A great trick is to put a few drops of food coloring into the toilet bowl and flush it a few times. If the ceiling stain gets wet and shows that color a few hours later, you know the toilet needs to be pulled and the ring replaced.
- Inspect shower caulking: Step into the shower above and look closely at the corners, the grout lines, and the escutcheon plate (the metal ring behind the shower handle). Water splashing against a tiny gap in the caulk can easily run behind the wall and down to the ceiling below.
- Test the drains: Fill the bathtub or sink to the brim, then pull the stopper and let the massive volume of water rush down at once. Sometimes, a drain pipe only leaks when it is under full load, not when the water is just trickling.
Investigating the Roof and Attic
If the stain is on the top floor of your home, the roof or the attic space is the likely culprit.
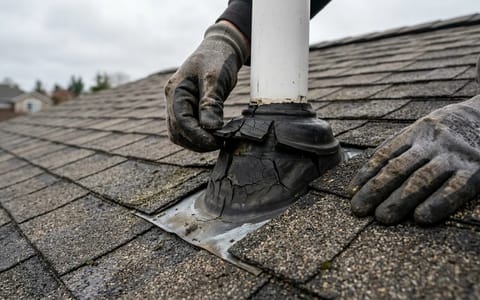
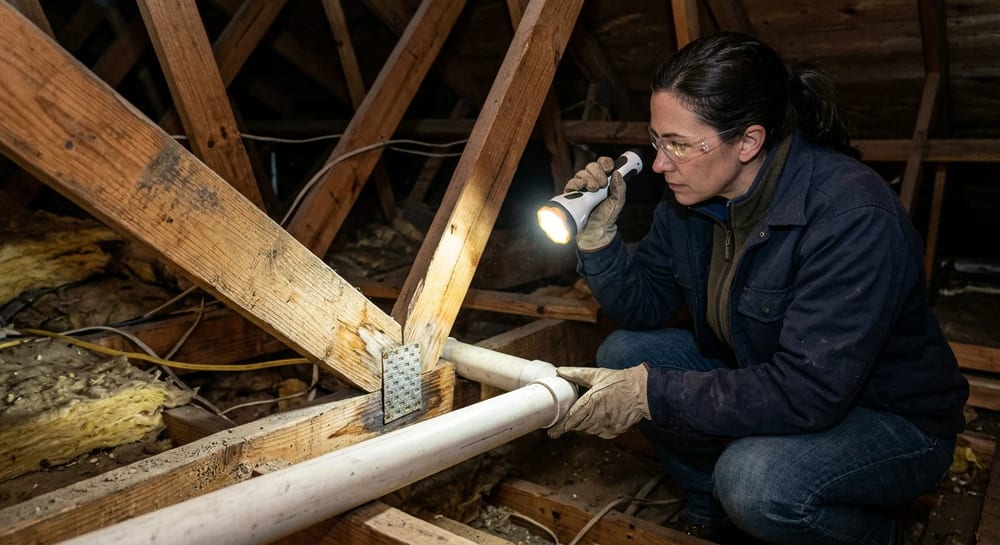
Grab a bright flashlight and head into the attic. Turn off your headlamp for a moment and look for daylight showing through the roof boards. Then, turn the light back on and look for dark, water-stained wood on the underside of the roof decking. Pay special attention to areas around roof penetrations—plumbing vent pipes, chimneys, and skyllights. The rubber boots around vent pipes frequently crack after 10 to 15 years in the sun, allowing rainwater to slide right down the pipe into the attic.
Investigating HVAC and Ductwork
A few years ago, I noticed a water stain on my hallway ceiling that only seemed to grow during the hottest days of summer. I spent weeks checking the roof before finally going into the attic. It turned out the condensation drain line on my central AC unit was clogged. The secondary drain pan had rusted through, and water was following a duct right down to the hallway drywall.
If your air handler is in the attic, check the PVC drain lines and the metal pan underneath the unit. A simple clog can send gallons of water into your ceiling over a single weekend.
Should You Cut Out the Drywall or Just Paint It?
Once you have found and fixed the leak, you have to evaluate the drywall itself. You do not always have to cut out a water stain.
Press firmly against the stained area with your fingers. If the drywall feels firm and solid, exactly like the unstained ceiling around it, you can simply prep and paint it. If it feels soft, mushy, or crumbles under pressure, the gypsum core has been destroyed. In this case, painting is a waste of time. You will need to cut out the damaged square with a drywall saw, install a new piece of drywall, tape the seams, and apply joint compound.
Step-by-Step: How to Fix a Water Damaged Ceiling
Assuming the drywall is structurally sound and the leak is permanently fixed, here is the exact process to make that ugly brown stain disappear forever.
- Verify the drywall is completely dry. Do not trust your eyes; use a digital moisture meter (available for about $30 at any hardware store) to ensure the moisture level in the drywall is below 15 percent.
- Clean the surface. Mix one cup of household bleach into a gallon of warm water and lightly wipe the stain with a sponge to kill any surface mildew.
- Sand the area lightly. Once the ceiling is dry from cleaning, use a sanding sponge or 120-grit sandpaper to lightly scuff the stain, which helps the primer adhere better.
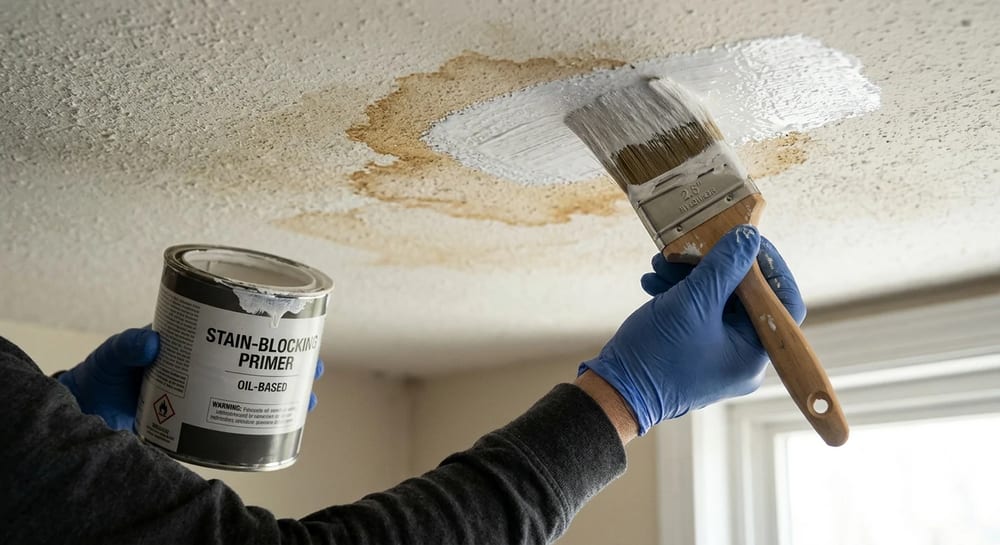
- Apply a stain-blocking primer. Using a 3/8-inch nap roller or a brush, apply a heavy coat of oil-based primer (like KILZ Original) or a shellac-based primer (like Zinsser B-I-N) directly over the stain.
- Let the primer cure. Wait at least two hours, or whatever time the primer manufacturer specifies, ensuring the area is well-ventilated because oil and shellac primers have strong fumes.
- Paint the ceiling. Apply standard water-based ceiling paint over the primed area, feathering the edges outward so the new paint blends smoothly into the old paint.
Matching Ceiling Texture and Paint
One of the most frustrating parts of a ceiling repair is getting the paint to match. Ceilings fade and discolor over time due to sunlight, cooking oils, and dust. If you just paint a two-foot square over the patched stain, you will likely end up with a bright white patch that is almost as noticeable as the brown stain was.
If the ceiling is smooth, you can try painting just the patched area, feathering the edges out by a foot or two. If the patch is still obvious once it dries, your only real option for a flawless finish is to roll a fresh coat of ceiling paint over the entire room from corner to corner.
If your ceiling has a popcorn, knockdown, or orange peel texture, you will need to reapply that texture before priming. Hardware stores sell aerosol cans of ceiling texture. Practice spraying the texture onto a piece of scrap cardboard first. Adjust the nozzle until the splatter size matches your ceiling, then apply it to the stain, let it dry, and proceed with your stain-blocking primer.
Wrapping Up
A water stain on the ceiling is stressful, but treating it systematically makes it manageable. By taking the time to trace the water back to its true source, you protect your home's structural integrity. Once you are confident the leak is stopped, a quick application of the right oil-based primer will erase the evidence, leaving your ceiling looking as good as new.
- Trace the leak by checking the areas directly above the stain, keeping in mind that water can travel along joists before dripping.
- Safety first: if the stain is near a light fixture, turn off the power at the breaker until you confirm the area is dry.
- A simple $30 moisture meter can tell you if a stain is actively leaking or an old, dried-up issue.
- Always apply a stain-blocking primer (like KILZ or Zinsser BIN) before your final ceiling paint, or you will be doing the job twice.