Where to Put a Carbon Monoxide Detector in Your Home
Carbon monoxide is an invisible, odorless gas that requires specific detector placement to keep your family safe. Learn exactly where to install your alarms, what heights work best, and which areas of your home to avoid.
Knowing exactly where to put carbon monoxide detector is critical for protecting your family from carbon monoxide, an odorless, colorless, and tasteless gas that claims hundreds of lives each year. Because you cannot see or smell it, relying on technology is your only line of defense. Having alarms in your house is a non-negotiable safety requirement, but simply buying them is not enough. A poorly placed alarm might trigger false alerts constantly, or worse, it might not sound until the gas reaches lethal levels.
Many homeowners buy a multi-pack of alarms at the hardware store and plug them into random outlets without a second thought. Proper placement requires a bit of strategy, an understanding of how air moves through your house, and adherence to established safety codes. This guide breaks down the exact locations you need to cover, the spots you must avoid, and the truth about the long-standing debate over installation height.
What is Carbon Monoxide and How Does It Enter Your Home?
Carbon monoxide (CO) is a toxic byproduct of incomplete combustion. Any time you burn fuel—whether it is natural gas, propane, oil, wood, or gasoline—carbon monoxide is produced. In a properly functioning home system, this gas is safely vented outside through a chimney or exhaust pipe. The danger arises when those systems fail, leak, or backdraft into your living space. Even low levels, like 35 parts per million (ppm) over several hours, can be dangerous.
Common sources of carbon monoxide in a residential home include gas furnaces with cracked heat exchangers, poorly vented gas water heaters, blocked chimneys, wood-burning stoves, and gas ranges. Another major hazard is an attached garage. Leaving a car running in an attached garage, even with the large overhead door open, can force deadly concentrations of CO into the house within minutes.
When inhaled, carbon monoxide binds to the hemoglobin in your blood much faster than oxygen does. This starves your brain and organs of oxygen. Because the early symptoms mimic the flu—mild headaches, dizziness, nausea, and fatigue—people often ignore the warning signs and simply go to sleep, which can be fatal. This is why early detection through properly placed alarms is vital.
What Are the Official Requirements for CO Alarms?
When deciding where to place your alarms, the best baseline is the standard set by the National Fire Protection Association (NFPA 720). While local building codes can vary by municipality, the NFPA provides the universally accepted minimum safety standard for residential homes.
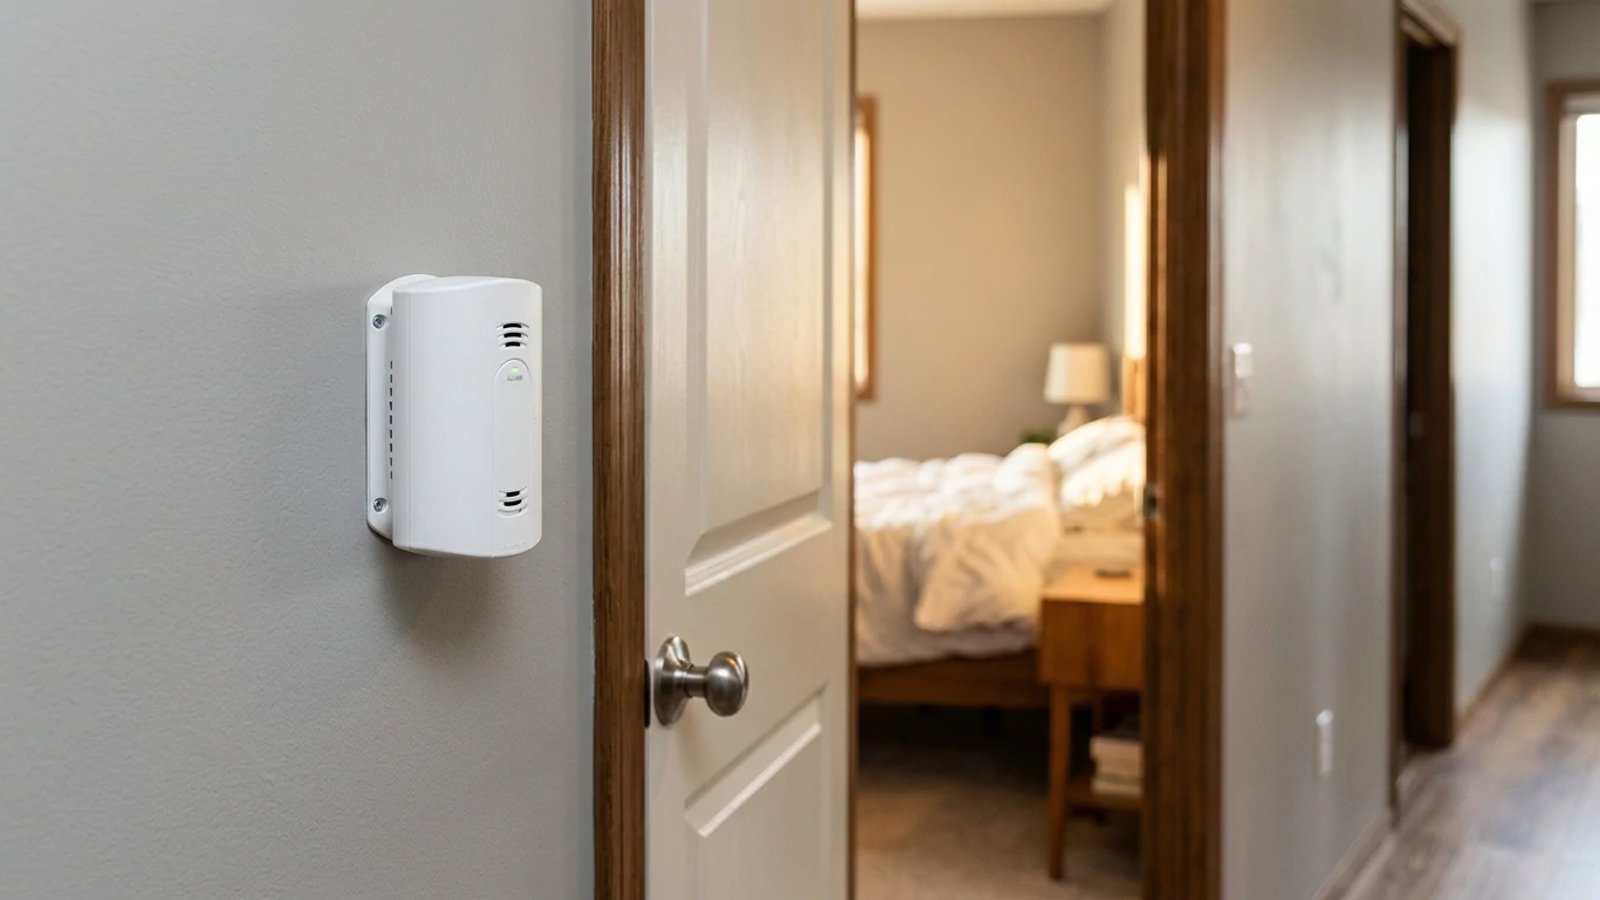
According to the NFPA, you must install a functioning carbon monoxide alarm on every habitable level of your home. If your home has a basement, you need an alarm there. If you have a finished attic used as a playroom or office, you need an alarm there as well. The most critical rule dictates that you must place an alarm outside of each separate sleeping area, in the immediate vicinity of the bedrooms.
The general industry guideline is to mount the detector within 10 feet of the bedroom doors. If your house features a long hallway with bedrooms spread out on opposite ends, a single detector in the middle might not be loud enough to wake everyone. In that scenario, you need multiple units along the hallway.
Room-by-Room Guide: where to put carbon monoxide detector
Meeting the minimum code requirements is a good start, but strategic placement within specific rooms ensures the fastest response time. Here is how to approach the different zones of your house.
Bedrooms and Sleeping Areas
The primary goal of a CO detector is to wake you up if a leak happens while you are sleeping. Place the alarm in the hallway outside your bedroom doors. If you sleep with your bedroom door closed, the heavy wood can muffle the sound of an alarm in the hallway. In this case, installing an additional detector inside the bedroom is a smart upgrade. If you use a space heater or a gas fireplace inside a bedroom, an alarm in that specific room is mandatory.
Basements and Utility Rooms
Your basement likely houses the biggest fuel-burning appliances in your home: the furnace and the water heater. You absolutely need a detector in the basement, but do not mount it directly above the furnace. Place it near the bottom of the basement stairs or in a central location. This allows the gas to disperse slightly, preventing false alarms from the tiny, normal puffs of CO that occasionally escape when a furnace burner first ignites.
Living Rooms and Common Areas
If you have a gas fireplace or a wood-burning stove in your living room, place a detector in that room. Ensure it is positioned at a safe distance from the heat source. Since family members spend a lot of time in these common areas, having a dedicated alarm provides an early warning before the gas spreads to the rest of the house.
Attached Garages
Never install a carbon monoxide detector inside a garage. The exhaust from starting your car, combined with the extreme temperature swings and high humidity, will constantly trigger false alarms and quickly destroy the sensor. Instead, mount the detector inside the house, just inside the door that leads to the attached garage. This placement alerts you immediately if car exhaust begins seeping into your living space.
The Great Debate: High or Low on the Wall?
If you ask three different handymen where to put a carbon monoxide detector on the wall, you will likely get three different answers. There is a persistent myth that carbon monoxide is heavier than air and sinks to the floor. Another equally common myth claims it is lighter than air and rises to the ceiling alongside smoke. Both are incorrect.
The science is straightforward: carbon monoxide has a molar mass of 28.0 g/mol. The regular air we breathe consists mostly of nitrogen and oxygen, giving it an average molar mass of 28.9 g/mol. Because their weights are nearly identical, carbon monoxide mixes evenly with the air in a room. It does not stratify at the floor or the ceiling.
Because the gas disperses evenly, the installation height matters much less than the location in the house. You can mount detectors flat on the ceiling, high on a wall, or plugged directly into a standard baseboard outlet at 18 inches off the floor.
Because carbon monoxide mixes evenly with room air, the best installation height is exactly what your specific alarm's manual recommends.
When I replaced the hardwired alarms in my own 1940s colonial last fall, I tested both ceiling-mounted units and low wall plug-ins. I noticed that the plug-in units were much easier to reach for monthly testing, while the ceiling units stayed completely free of pet hair and dust. The key is simply following the specific manufacturer's instructions for each model, as some internal sensors are calibrated for specific airflow patterns.
Locations to Avoid Completely
Placing an alarm in the wrong spot is almost as bad as not having one at all. Poor placement causes nuisance alarms, which tempts homeowners to remove the batteries. It can also expose the sensitive internal components to conditions that ruin the device.
Keep your carbon monoxide detectors at least 15 feet away from all fuel-burning appliances. Gas stoves, ovens, furnaces, and boilers can emit a brief, harmless amount of CO upon startup. If the alarm is too close, it will sound every time you cook dinner or the heat kicks on.
Avoid excessively humid areas. Do not install alarms inside bathrooms, or directly outside a bathroom door where heavy shower steam billows out. High humidity damages the electrochemical sensors that detect the gas. For the same reason, avoid placing them near dishwashers or laundry room utility sinks.
Keep them away from direct airflow. Avoid placing units next to drafty windows, exterior doors, ceiling fans, or directly over HVAC supply registers. Fresh air blowing over the sensor can create a pocket of clean air, masking a dangerous buildup of gas in the rest of the room.
Understanding Detector Types and Sensor Technology
When you shop for alarms, you will encounter three main power sources: hardwired, battery-operated, and plug-in. Hardwired units tie directly into your home's electrical system and feature a battery backup for power outages. Battery-operated units offer the most flexibility for placement, as you can mount them anywhere. Plug-in units are convenient but restrict your placement to existing wall outlets.
Inside these devices, the technology varies. The most common and accurate type is the electrochemical sensor. These contain a chemical solution that reacts with carbon monoxide to create an electrical current. When the current reaches a specific threshold, the alarm sounds. Biomimetic sensors use a gel that changes color as it absorbs CO, and an optical sensor triggers the alarm when the color shift becomes severe.
Regardless of the technology, modern alarms are designed to measure both the concentration of the gas (measured in parts per million, or ppm) and the duration of exposure. According to standards set by Underwriters Laboratories (UL), an alarm must sound within 60 to 240 minutes at 70 ppm, but it must sound within 4 to 15 minutes if the concentration spikes to a lethal 400 ppm.
How to Install and Maintain Your Alarms
Installing a battery-operated or plug-in carbon monoxide detector is a fast project that requires minimal tools. Proper installation ensures the unit stays securely on the wall and functions correctly for its entire lifespan.
- Select the right mounting hardware. Use the provided drywall anchors and screws for wall or ceiling units, avoiding double-sided tape that degrades and drops the unit over time.
- Drill the pilot holes. Use a 3/16-inch drill bit to create clean holes for standard plastic drywall anchors.
- Secure the mounting bracket. Drive the screws until the bracket is flush and tight against the drywall, ensuring it does not wobble.
- Attach the alarm. Twist the unit onto the bracket until it clicks firmly into place.
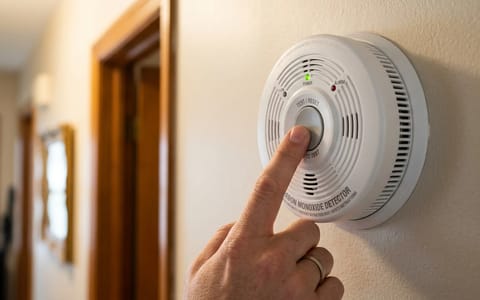
- Test the system. Press and hold the test button until the alarm sounds its standard pattern: four loud beeps, a pause, then four more beeps.
Maintenance is just as important as installation. Dust and pet dander can clog the small vents on the front of the alarm, preventing air from reaching the sensor. Every six months, use a vacuum cleaner with a soft brush attachment to gently clean the outside of the detector. Test the alarms monthly by pressing the test button, and replace the backup batteries at least once a year. A good habit is to swap the batteries when you change your clocks for daylight saving time.
Recognizing Symptoms and Emergency Protocols
Carbon monoxide alarms do not last forever. Most units expire 5 to 10 years from the date of manufacture, not the date you purchased them. Check the back of your alarm for a printed expiration date or a manufacture date. If you see a date that makes the unit older than 7 years, check the manual or replace the unit immediately to be safe.
If your alarm sounds, treat it as a life-threatening emergency. The standard CO alarm pattern is four fast beeps followed by a short pause. Do not waste time trying to open windows to air out the house, and do not wander around trying to find the source of the leak.
Evacuate everyone, including pets, to fresh air outside immediately. Once you are safely outdoors, call 911 or your local fire department. Do not re-enter the home for any reason until emergency responders have metered the air with their professional equipment and explicitly told you it is safe to go back inside.
Take 10 minutes this weekend to walk through your house, count your detectors, verify their expiration dates, and check their locations against these guidelines. A few properly placed, unexpired alarms are the only reliable defense against this invisible threat, giving you the warning you need to get your family out safely.
- Check your local building codes, but default to the NFPA 720 standard: one alarm on every level and outside every sleeping area.
- Do not install carbon monoxide alarms inside garages, bathrooms, or unfinished attics where extreme temperatures and humidity ruin the sensors.
- Interconnected alarms provide the best protection; if a basement alarm detects a furnace leak, the hallway alarm outside your bedroom will sound simultaneously.
- Test your alarms monthly and vacuum the dust off the sensors every six months to prevent false alarms.
- If your alarm sounds, immediately evacuate all people and pets outside to fresh air and call 911.