Crawl Space Maintenance: Your Complete Foundation Guide
Don't ignore the dark space beneath your floors. Learn why homes have crawl spaces, how their foundation parts work, and a simple checklist for keeping moisture and pests out.
Full guide Foundation & Structure Learn how to spot dangerous foundation cracks and protect your home from costly structural damage.For most homeowners, the area beneath the first floor is out of sight and out of mind. It is dark, dusty, and usually requires crawling on your hands and knees just to see what is going on. But ignoring crawl space maintenance is one of the fastest ways to end up with sagging floors, soaring energy bills, and expensive structural repairs.
Because this space houses the exposed underbelly of your home—including raw wood framing, plumbing pipes, and electrical wiring—it acts as the lungs of your house. The air down there naturally rises into your living space. If that air is damp and full of mold spores, your indoor air quality suffers. Taking control of this area requires understanding how it works, what to look for, and when to fix small issues before they become major foundation failures.
Why do houses have crawl spaces instead of concrete slabs?
If you have ever bumped your head on a floor joist while looking for a plumbing leak, you might have wondered why builders do not just pour concrete slabs for every house. The choice between a slab and a crawl space foundation usually comes down to geography, soil conditions, and cost.
Homes built on sloped or uneven lots rely on crawl spaces because it is much cheaper to build concrete block walls and level a wooden floor system than it is to haul in hundreds of tons of dirt to flatten the land for a slab. Additionally, in areas with deep frost lines, building codes require foundation footings to be poured at least 12-24 inches deep underground to prevent the freezing earth from heaving the house upward. Once a builder digs that deep, adding a few extra blocks to create a crawl space is a cost-effective way to elevate the home.
The biggest advantage for homeowners is access. When a pipe bursts in a slab foundation, a plumber has to bring in a jackhammer, destroy the flooring, and break through the concrete to fix it. In a crawl space foundation home, all the plumbing, ductwork, and electrical lines are completely exposed and easily accessible for upgrades or repairs.
Anatomy of a Crawl Space Foundation
Before you suit up and grab your flashlight, it helps to know exactly what you are looking at. A mental diagram of your foundation makes it much easier to spot when something is out of place or failing.
Concrete Foundation Walls: These form the exterior perimeter of the space. They are typically built using poured concrete or stacked concrete masonry units (CMUs). Their job is to hold back the outside soil and support the outer edges of your house.
Piers and Support Columns: Spaced evenly throughout the dirt floor, you will see vertical supports made of concrete blocks, poured concrete, or heavy steel jacks. These carry the weight of the interior load-bearing walls.
Floor Joists and Girders: The heavy horizontal wooden beams resting on the piers are girders. The smaller boards running perpendicular to them are the floor joists. Together, these make up the framing that directly supports your subfloor and the furniture sitting in your living room.
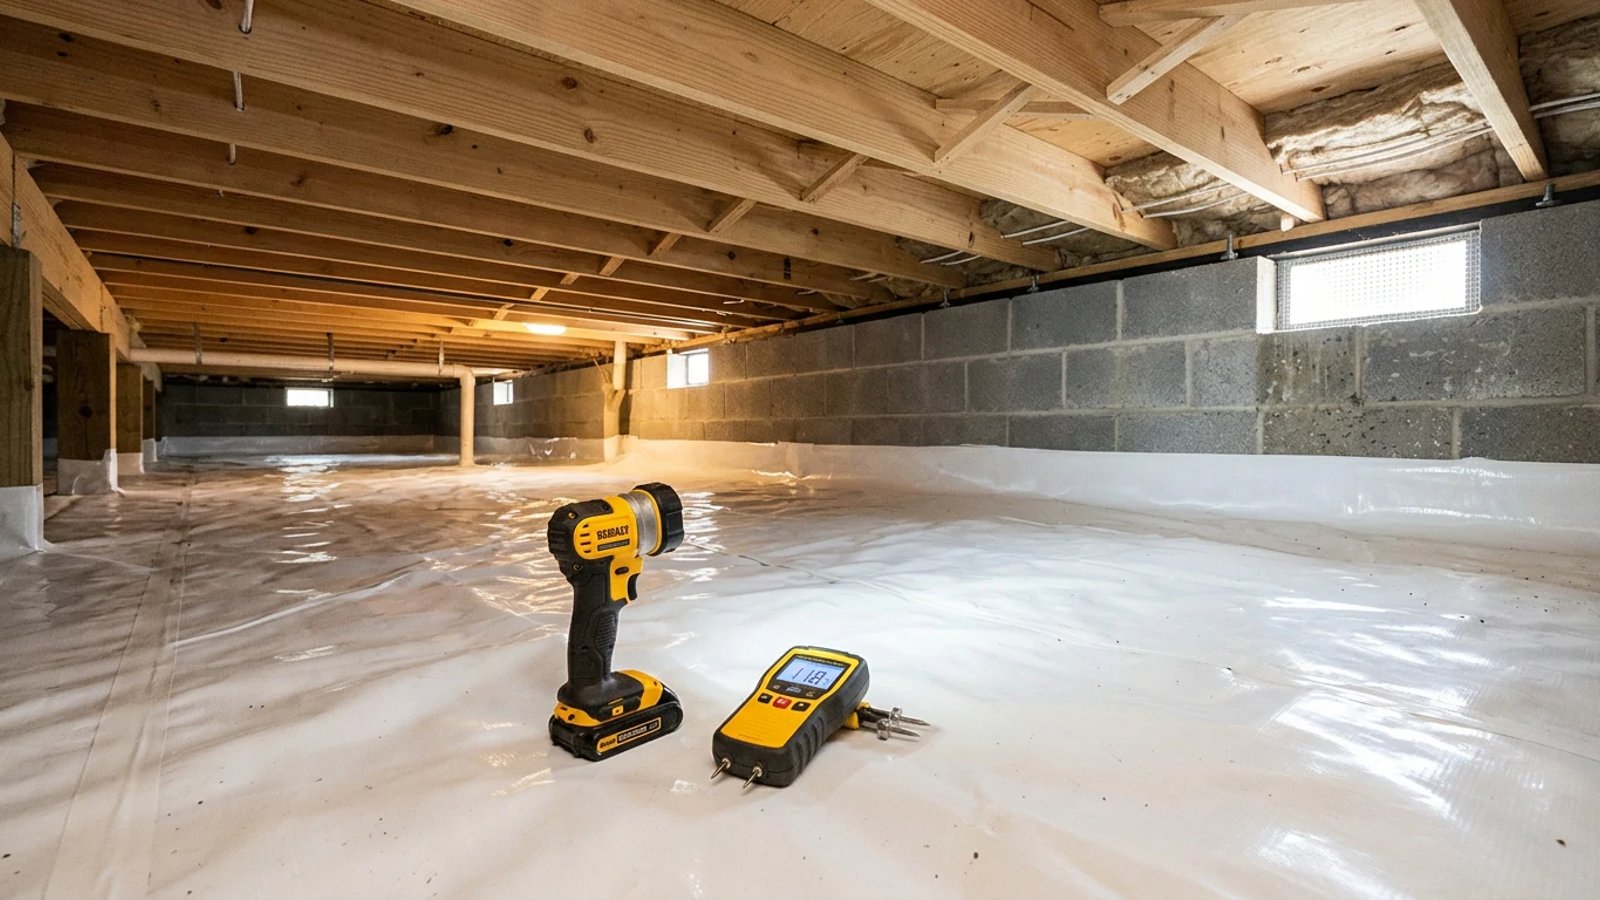
Vapor Barrier: This is the plastic sheeting covering the dirt floor. Ground soil constantly releases water vapor. Without a heavy polyethylene barrier (usually 6-mil to 20-mil thick), that moisture rises straight into your wooden joists.
Foundation Vents: In traditional homes, rectangular vents are cut into the exterior concrete walls to allow cross-breeze ventilation, which was historically thought to keep the space dry. (Modern building science now often favors sealing these entirely, which we will cover later).
How do I perform basic crawl space maintenance?
You do not need to be a structural engineer to keep this area healthy. You just need to be willing to get a little dirty twice a year. Last summer, I noticed my hardwood floors starting to cup near the kitchen island. I put on some coveralls, went down with a flashlight, and found that a single disconnected dryer vent was pumping hot, humid air straight onto the joists. A five-minute fix with an aluminum duct clamp saved me from thousands of dollars in wood rot.
When you are ready to inspect your foundation, wear long sleeves, heavy-duty knee pads, and an N95 respirator mask to protect your lungs from dust and potential mold spores. Bring a bright flashlight and a wood moisture meter.
- Inspect the vapor barrier for gaps. The plastic sheeting should cover 100% of the dirt floor, overlapping at the seams by at least 12 inches. Look for tears or areas where the plastic has been pulled back, and patch them with heavy-duty seam tape.
- Test the wood moisture levels. Press the pins of a wood moisture meter into several different floor joists, especially those near the perimeter walls and plumbing fixtures. You want readings under 15%; anything over 20% means you have an active moisture problem.
- Hunt for plumbing leaks. Shine your flashlight up at the subfloor directly beneath your bathrooms, kitchen, and laundry room. Look for dark water stains, white mineral deposits, or active drips coming from the drain pipes.
- Examine the foundation walls for cracks. Small, vertical hairline cracks in concrete are normal settling. However, horizontal cracks or stair-step cracks through the mortar joints indicate dangerous soil pressure pushing against the wall.
- Look for signs of pests. Termites build pencil-sized mud tubes running up the concrete piers to reach the wood. Also, keep an eye out for mouse droppings or torn fiberglass insulation, which rodents love to use for nesting.
- Clear the exterior perimeter. Go outside and ensure gutters are discharging water at least six feet away from the foundation. Keep mulch and soil graded so it slopes away from the house, preventing rainwater from pooling against the crawl space walls.
Should I encapsulate my crawl space?
If you consistently find damp wood, rusting metal pipes, or a musty smell creeping into your home, traditional ventilation might not be working for you. The EPA provides strict guidance on moisture control, noting that warm summer air entering cool crawl spaces naturally drops its moisture, creating heavy condensation.
This is why many homeowners are upgrading to full encapsulation. Encapsulation completely seals the crawl space off from the outside environment. The process involves laying down a heavy-duty 12-mil to 20-mil liner, running it up the perimeter walls, sealing every seam with waterproof tape, and permanently blocking off the exterior vents. Once sealed, a commercial-grade dehumidifier is installed to keep the relative humidity permanently locked below 55%.
A full encapsulation project typically costs between $3,000 and $8,000 depending on the size of your home and the amount of prep work required. While it is a significant investment, it completely eliminates ground moisture, deters pests, stops wood rot, and can drastically lower your heating and cooling bills by creating a conditioned space beneath your floors.
Taking care of your crawl space does not have to be a miserable chore. By getting down there twice a year with a flashlight and a moisture meter, you can catch tiny drips and torn plastic long before they turn into structural nightmares. A dry foundation means a healthy house, better indoor air quality, and floors that stay solid for decades.
- Invest in a $30 pin-type wood moisture meter and check your floor joists twice a year; readings should stay below 15%.
- Never leave dirt floors exposed. A minimum 6-mil polyethylene vapor barrier is required to stop ground moisture from rotting your subfloor.
- Horizontal cracks in concrete crawl space foundation walls indicate dangerous soil pressure and require immediate professional inspection.
- If you have fiberglass batts stuffed between your joists, check them for sagging, which usually indicates they have absorbed heavy moisture from the air.