How to Fix Drain Spout Drainage and Save Your Foundation
Pooling water near your foundation is a ticking time bomb for basement leaks and structural damage. Learn how to fix your downspout drainage with simple extensions, buried emitters, and pump systems.
Full guide Foundation & Structure Learn how to spot dangerous foundation cracks and protect your home from costly structural damage.Mid-summer storms bring heavy, sudden downpours, and steady fall rains are just around the corner. If you walk outside during a storm and see water pooling right against your exterior walls, you have a problem that needs immediate attention. Proper drain spout drainage is your home's first line of defense against basement flooding, mold growth, and costly structural repairs.
Many homeowners spend thousands of dollars waterproofing their interior basement walls while ignoring the root cause of the moisture sitting right outside. Getting water off your roof is only half the job; moving it safely away from your house is what actually protects your investment.
Why Is Proper Drain Spout Drainage So Important?
When rainwater dumps directly at the base of your house, it saturates the soil packed around your foundation. This creates something called hydrostatic pressure. Wet soil is incredibly heavy and expands, pushing inward against your concrete or block foundation walls. Even moving water just 6 feet away from your foundation can drastically reduce this risk.
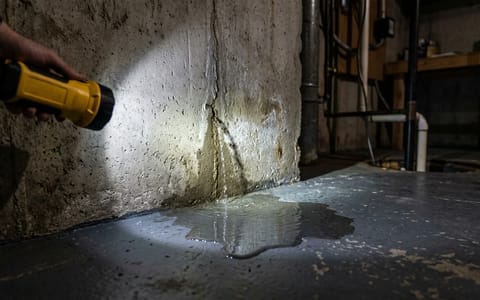
Over time, this immense pressure causes the walls to bow, crack, and settle. Eventually, that standing water finds its way through the microscopic cracks in the concrete, leading to damp basements, ruined drywall, and a musty smell that takes over the lower level of your home. By simply managing where your roof runoff goes, you relieve this pressure and keep the soil around your home stable and dry.
How Can You Spot Drainage Problems During Dry Weather?
You do not have to wait for a thunderstorm to know if your drainage is failing. Your house and landscaping will leave clues. Look for washed-out trenches in your mulch beds right below the gutters. Check the lower two feet of your exterior siding or brick for green moss, algae, or heavy mud splatters.
Inside the house, look at your unfinished basement walls. If you see a white, chalky powder clinging to the concrete (called efflorescence), moisture is actively migrating through the wall and leaving mineral deposits behind. This is a massive red flag that water is pooling outside.
Step 1: Assess and Upgrade Your Gutters and Downspouts
Before worrying about where the water goes in the yard, make sure it can actually get off the roof efficiently. Standard residential downspouts are usually 2x3 inches. These easily clog with small twigs and get completely overwhelmed during heavy summer thunderstorms, causing water to cascade over the edge of the gutter directly against the house.
Upgrading to 3x4-inch downspouts increases the water flow capacity massively. When we replaced the standard 2x3 downspouts on my 1970s split-level with 3x4s, the chronic gutter overflow issues during heavy rain completely stopped. The larger size costs about $15 to $20 per 10-foot section at most hardware stores and makes a tremendous difference in handling severe weather.
A single inch of rainfall on an average roof sends over 600 gallons of water rushing through your gutters.
The Golden Rule: Extend Downspouts at Least 6 Feet
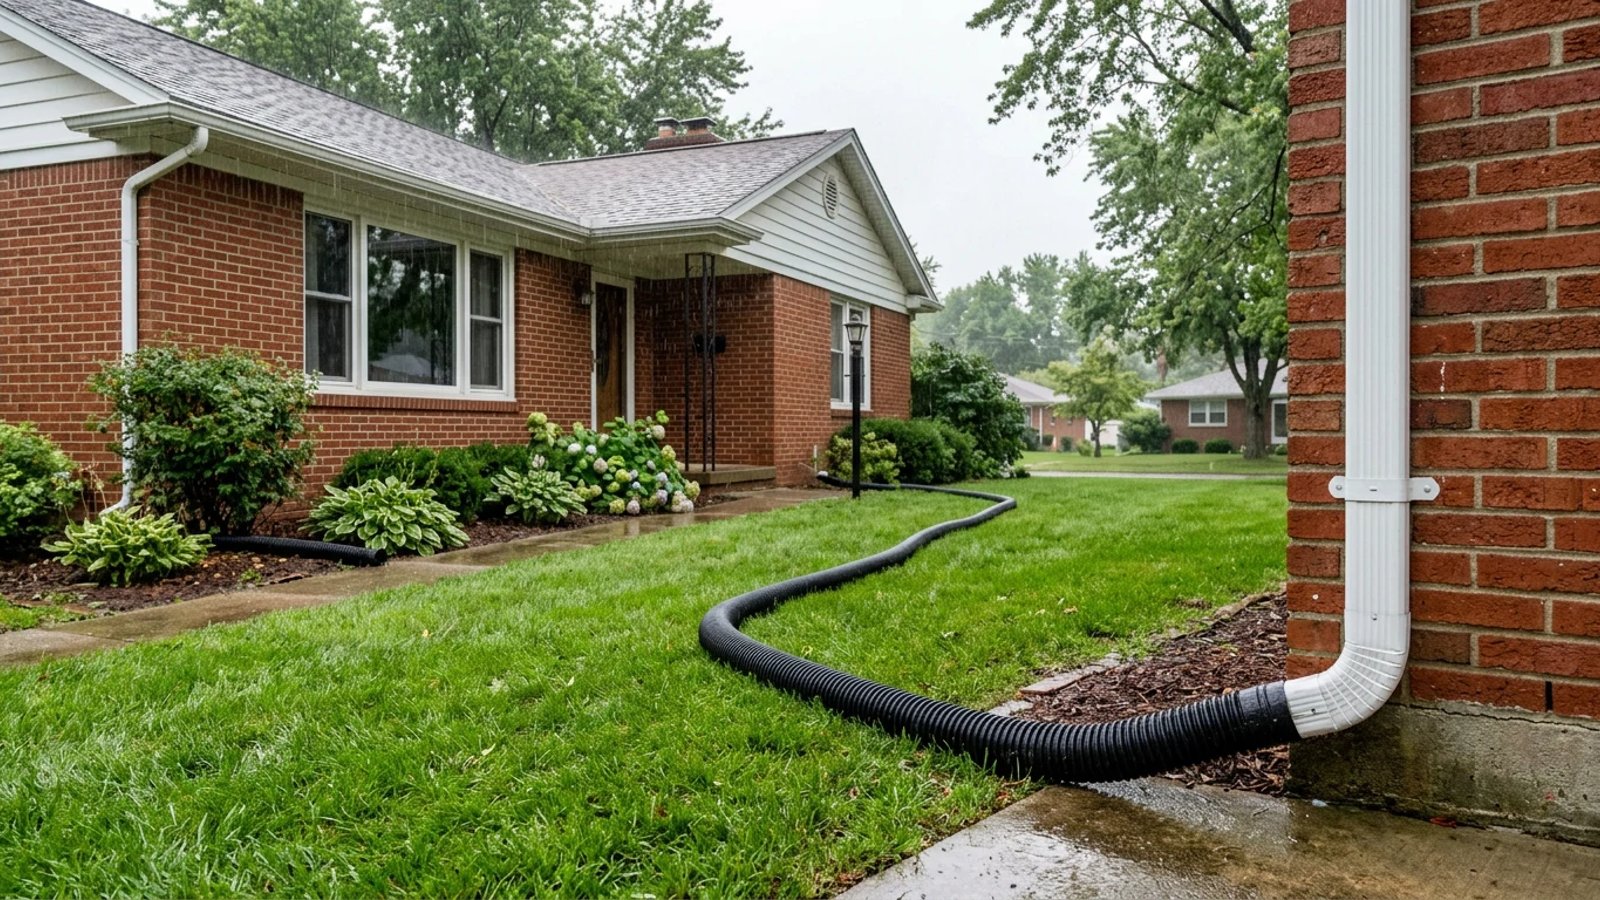
The most common mistake you will see in residential neighborhoods is a downspout dumping water onto a small concrete splash block just 12 inches from the foundation. You need to move that water much further away. The general rule is to extend your drain spout drainage at least 6 feet from the exterior walls.
Adding a simple corrugated plastic extension is the cheapest and fastest fix. These flexible pipes cost around $10 to $15 each and snap directly onto the end of your existing downspout. You can stretch them out and bend them around landscaping features. If you hate the look of them, you can roll them up during dry weeks and only pull them out when the forecast calls for rain.
How Do I Install a Buried Pop-Up Drainage Emitter?
If you have a relatively flat yard or want a permanent solution that does not ruin your curb appeal, a buried pop-up emitter is an excellent weekend project. This system relies on a buried PVC or solid corrugated pipe laid in a slightly sloped trench. The water pressure from the downspout pushes a plastic lid open in your yard, releasing the water safely. When the rain stops, the lid drops flush with the grass so you can run a lawnmower right over it.
- Dig a sloped trench. Start at the downspout and dig a trench 8 to 10 feet out into the yard, ensuring it slopes downward at a drop of 1 inch for every 4 feet of length.
- Add a gravel base. Pour about 2 inches of drainage gravel at the very end of the trench where the emitter will sit to help residual water seep into the ground.
- Connect the adapter. Attach a downspout adapter to the bottom of your gutter line and connect it to a solid 4-inch PVC or heavy-duty corrugated drain pipe.
- Lay and connect the pipe. Place the pipe in the trench, checking with a level to ensure the downward slope remains consistent so water doesn't pool inside the line.
- Attach the pop-up emitter. Install a 90-degree elbow fitting at the end of the pipe, pointing straight up, and attach the green pop-up emitter so the top sits exactly flush with the surrounding soil.
- Backfill and patch. Cover the buried pipe with the excavated soil, pack it down firmly, and patch the grass seed or sod over the trench.
What If You Need to Move Water Uphill?
Gravity is not always on your side. If your yard naturally slopes toward your house, you cannot use standard extensions or gravity-fed pop-up emitters. Water will just run right back toward the basement. In this scenario, you have to actively force the water away.
This requires installing a catch basin in the ground directly under the downspout. Inside that basin, you place a dedicated submersible drainage pump. When it rains, the downspout empties into the basin. Once the water hits a certain level, a float switch activates the pump, which pushes the water through a buried 1.5-inch PVC discharge line up the grade and out to the street or a safe drainage zone.
A good quality exterior drainage pump setup will run you between $300 and $500 for the parts, plus a few hours of digging and basic PVC plumbing. You will also need an outdoor-rated GFCI electrical outlet nearby to plug the pump in. While it requires a bit more maintenance to ensure the basin stays clear of leaves, it is vastly cheaper than paying a mitigation company to pump out a flooded basement.
Do not wait for water to breach your basement walls to take your yard drainage seriously. Grab an umbrella during the next heavy storm, walk around the perimeter of your house, and see exactly where the water is going. A few inexpensive extensions or a Saturday spent digging a shallow trench can save your foundation and keep your home dry for decades.
- Check your yard during the next heavy rainstorm to see exactly where your downspouts are dumping water.
- Extend every downspout at least 6 feet from the foundation using corrugated plastic piping or a buried drain line.
- Upgrade undersized gutters and downspouts to prevent overflowing water from cascading directly down your exterior walls.
- Call 811 before digging any trenches for buried drainage lines to avoid hitting utility pipes.