How to Use Heat Tape for Pipes (And Avoid Fire Hazards)
Exposed water lines in unheated spaces are a burst-pipe disaster waiting to happen. Learn how to safely install heat tape to protect your plumbing from freezing temperatures.
Full guide Plumbing Learn how your home plumbing works and how to stop leaks before they ruin your house.Exposed water lines in crawl spaces, unheated basements, or exterior walls are a ticking time bomb when late-fall temperatures drop below freezing. A burst pipe doesn't just cut off your water supply; it causes thousands of dollars in structural water damage. Installing heat tape for pipes is a reliable, cost-effective way to keep water flowing through the coldest nights.
However, this is not a project where you can cut corners. Heat tape acts as a localized electric heater, and doing it wrong can literally burn your house down. Before the deep freeze sets in, you need to know exactly how to choose the right materials and install them safely.
Why Do Exposed Pipes Freeze (And How Does Heat Tape Help)?
Water expands when it turns to ice. When the temperature around an uninsulated pipe drops below 32°F (0°C), the water inside begins to freeze and expand, creating immense pressure. This pressure pushes against the pipe walls and closed faucets until the weakest point—usually a joint or a straight run of copper or PVC—ruptures.
Heat tape, also known as heat cable, prevents this by applying direct, continuous warmth to the surface of the pipe. Despite the name, it isn't actually sticky tape. It is a heavy-duty electrical wire encased in a protective jacket that generates heat when plugged in. When you run this cable along the length of your vulnerable plumbing, it keeps the pipe's surface temperature just above freezing, stopping ice blockages before they form.
Buying the Right Gear for the Job
Not all heat tapes are created equal, and grabbing the cheapest option off the hardware store shelf is a dangerous game. You will generally find two types of cables: constant-wattage and self-regulating. Most heat tapes are about 1/2 inch wide, designed to lay flat.
Constant-wattage cables pump out the exact same amount of heat constantly, regardless of how cold or warm the surrounding air is. They are cheaper, usually running $15 to $25, but they carry a higher risk of overheating if installed incorrectly.
Self-regulating heat cable is the modern standard. The conductive core inside the cable adjusts its heat output based on the ambient temperature. As the air gets colder, the cable gets hotter. As the air warms up, the cable reduces its heat output. While a quality 18-foot self-regulating cable might cost $30 to $70, the safety benefits are non-negotiable.
Last November, I inspected a neighbor's crawl space after they complained about low water pressure. I found an old, non-regulated heat tape wrapped tightly over itself like a coiled snake. The PVC pipe underneath was already starting to warp and discolor from the concentrated heat. We ripped it out immediately and replaced it with a modern, self-regulating setup.
According to the Consumer Product Safety Commission (CPSC), heat tapes are involved in roughly 2,000 fires, 10 deaths, and 100 injuries every year. To protect your home, ensure the cable you buy is UL-listed or CSA-certified.
How to Install Heat Tape for Pipes
Proper installation requires exact adherence to the manufacturer's instructions. While specific brands may have unique requirements, the general safety rules remain the same across the board.
- Measure your pipe run. Measure the exact length of the exposed pipe you need to protect so you can buy a cable of the exact same length. You cannot cut standard heat tape to size.
- Clean the pipe surface. Wipe down the copper or plastic pipe with a damp rag to remove dust, cobwebs, and grease. The pipe must be completely dry before you attach the cable.
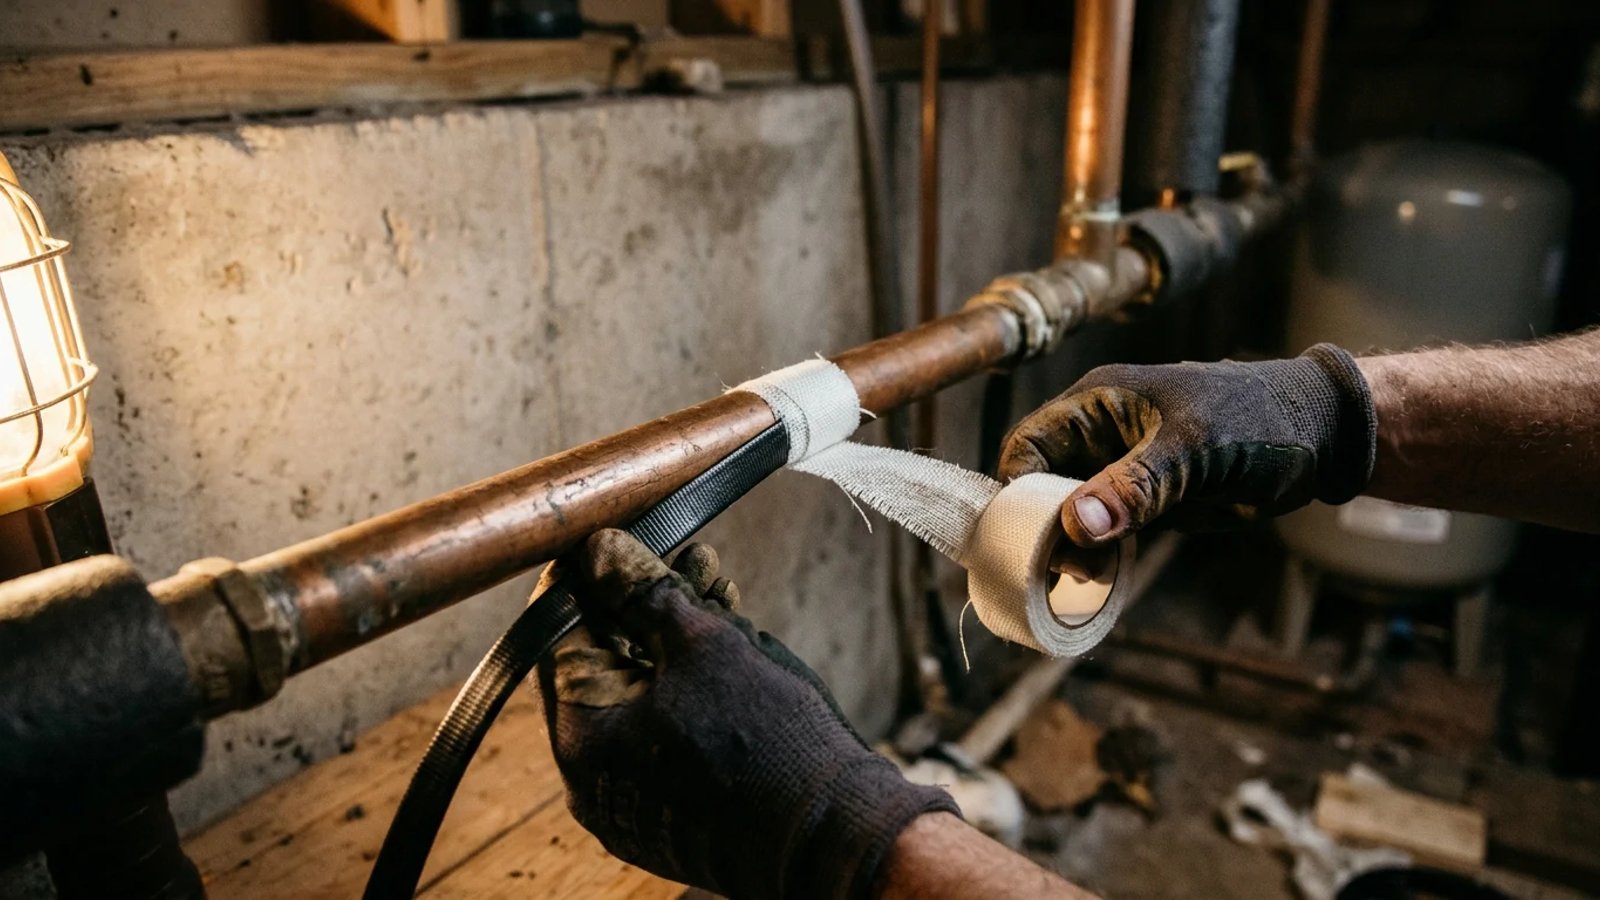
- Run the cable in a straight line. Lay the heat tape flat along the bottom of horizontal pipes, or straight down the side of vertical pipes. Heat rises, so placing it at the bottom of a horizontal run warms the water most efficiently.
- Secure the cable with fiberglass tape. Wrap a piece of high-temperature fiberglass application tape around the cable and pipe every 6 inches. Never use electrical tape, duct tape, or zip ties directly against the heating element, as they can melt or cut into the jacket.
- Position the thermostat sensor. If your cable has a built-in thermostat block, secure it tightly against the coldest section of the pipe.
- Plug it into a GFCI outlet. Connect the cable directly into a Ground Fault Circuit Interrupter (GFCI) outlet. Do not use standard extension cords.
Should You Add Pipe Insulation Over Heat Tape?
Running heat tape on a bare pipe is like running your home's furnace with all the windows open. The cold air will strip the heat away faster than the cable can generate it. Adding pipe insulation over the installed heat tape traps the warmth against the plumbing, drastically reducing energy usage and ensuring the water stays liquid during a deep freeze.
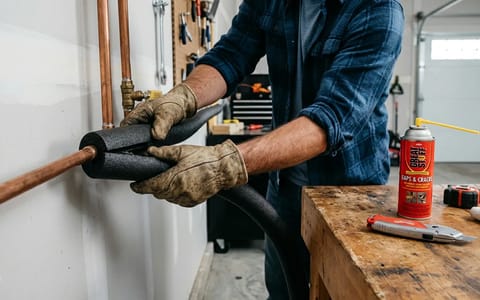
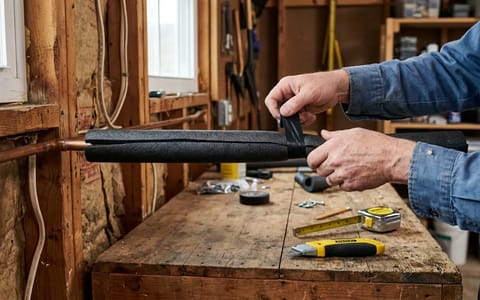
However, you must use the correct type of insulation. Look for 1/2-inch thick fiberglass wrap or fire-resistant polyethylene foam tubes. The foam tubes usually come pre-slit, making it easy to slip them over the pipe and the attached heat cable.
Running heat tape on a bare pipe is like running your home's furnace with all the windows open. Insulation is what actually traps the heat.
When installing the foam, slide it carefully over the pipe so you don't shift the heating cable out of place. Seal the seam of the foam tube with foil tape to lock the heat in. There is one critical exception: do not cover the thermostat sensor node if your cable has one. The sensor needs to accurately read the ambient air temperature to know when to turn the heat on and off. If you bury it under thick foam, it will think the pipe is perfectly warm and shut the system down, allowing the rest of the line to freeze.
Final Safety Checks Before Winter Hits
Once your heat tape and insulation are installed, take 10 minutes to verify the electrical safety of the setup. Because these cables are often installed in damp environments like crawl spaces and basements, ground faults are a real threat.
Press the "Test" button on the GFCI outlet you plugged the cable into. The outlet should click, and power should be cut to the tape. Press the "Reset" button to restore power. If the GFCI trips immediately upon plugging the heat tape in, the cable is damaged and must be replaced entirely.
Taking the time to properly measure, install, and insulate your pipes right now saves you from the nightmare of waking up to a flooded basement in January. Treat the cable with respect, follow the spacing rules strictly, and your plumbing will make it through the winter completely unscathed.
- Choose self-regulating heat tape, which adjusts its temperature output based on the surrounding air to prevent overheating.
- Run the cable in a straight line along the bottom of the pipe—overlapping standard cable creates hot spots that can melt pipes or start fires.
- Use 1/2-inch fiberglass or polyethylene foam insulation over the tape to trap heat, but leave the thermostat sensor exposed to the cold air.
- Test your GFCI outlet before the first freeze to ensure the cable will safely shut off in the event of an electrical fault.