House Inspection Checklist: What to Check Before You Buy
Don't let a fresh coat of paint hide major structural issues. Use this comprehensive house inspection checklist to spot red flags and budget for repairs before making an offer.
Full guide New Homeowner Guide Learn how to take control of your new house in the first year without getting overwhelmed.Why Do You Need a House Inspection Checklist?
When you tour a house, your brain is naturally trying to figure out where your furniture will go and whether the commute to work is reasonable. You are looking at the surface. A checklist forces you to look at the bones of the house.
When my wife and I bought our 1950s ranch, I was so focused on the beautifully refinished hardwood floors that I completely ignored the ancient electrical panel hiding behind a bookshelf in the den. We found out during the professional inspection that it was an outdated brand known for fire risks, and upgrading it cost us $2,200 right out of the gate. A simple checklist would have prompted me to open that metal door during our very first walkthrough.
Using a structured guide helps you separate your emotional reaction to a home from its physical condition. It ensures you evaluate the unglamorous but vital systems: plumbing, electrical, heating, cooling, and the structural envelope.
Phase 1: The Initial Home Viewing Checklist
Your first walkthrough, usually during an open house or a brief showing with your agent, is about broad strokes. Focus on about seven key areas during this initial look. You do not need a ladder or a flashlight yet. You just need to use your senses and test the basic functions of the house.
Check the Exterior and Grading
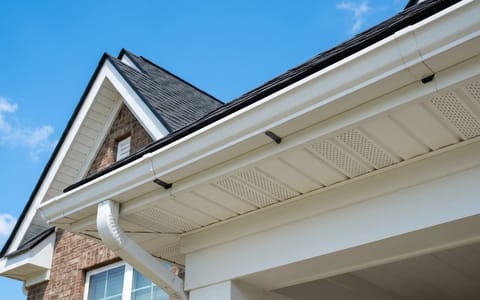
Before you even walk through the front door, look at how the house sits on the lot. The ground should slope away from the foundation. If the yard slopes toward the house, rainwater will pool against the foundation, eventually finding its way into the basement or crawlspace. Look at the gutters and downspouts. Downspouts should discharge water at least four to six feet away from the base of the house.
Test the Plumbing
Do not just look at the bathroom tiles; test the hardware. Turn on the shower and the bathroom sink at the same time. Does the water pressure drop significantly? Flush the toilet while the sink is running. Slow draining or gurgling sounds can indicate a partial main line clog or improper venting.
Open the cabinets under every sink in the house. You are looking for warped wood, water stains, or a musty smell. Even if it is dry right now, a water stain means a leak happened in the past, and you need to know if it was fixed properly.
Look at the Walls, Ceilings, and Doors
Scan the ceilings in every room, especially directly below upstairs bathrooms. Brown rings or spots indicate water leaks. Next, open and close several interior doors. If doors stick at the top or swing open on their own, the house may have settled unevenly. While some settling is normal in older homes, severe sticking is a warning sign.
Phase 2: The Deep-Dive House Inspection Checklist
If you like the house enough to consider an offer, you need to look closer. This phase is about checking the big-ticket items. While your professional inspector will do a thorough job, knowing the age and condition of these systems helps you decide how much to offer.
Evaluate the Roof Age and Condition
Replacing a roof is one of the most expensive maintenance tasks you will face. Standard asphalt shingles typically last 15 to 20 years. Step back into the street and look up. Are the shingles curling at the edges? Are there bald spots where the protective granules have washed away? If the roof looks patched or uneven, it is likely nearing the end of its life.
Inspect the Foundation
Head down to the basement or look into the crawlspace. Small, vertical hairline cracks in concrete walls are generally normal settling. However, horizontal cracks, stair-step cracks in brickwork, or cracks wider than 1/8 inch are major red flags indicating lateral pressure or structural failure.
Check the Electrical Panel
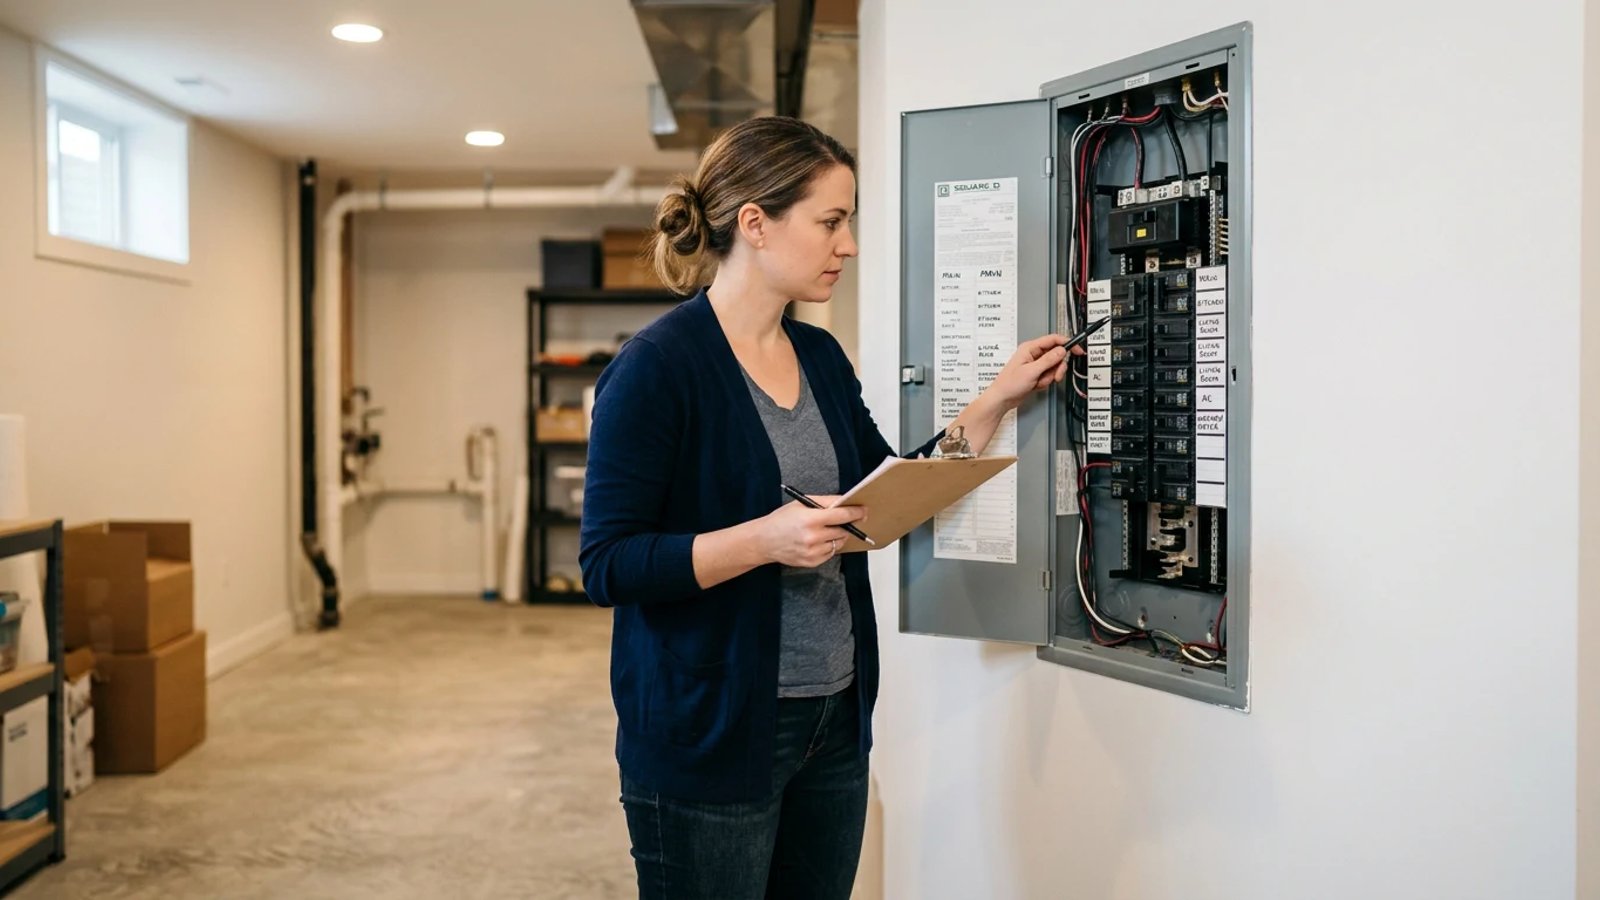
Find the main electrical panel. Modern homes require at least a 100-amp service, but 200-amp is standard for houses with electric vehicles, central air, and electric appliances. Open the panel door. The wiring should look neat and organized. Look out for loose wires, scorch marks, or double-tapped breakers (where two wires are shoved into a single breaker slot designed for one).
Determine the Age of the HVAC and Water Heater
Do not trust the seller's disclosure alone; verify the age of the mechanical systems. A furnace usually lasts 15-20 years, while a central AC condenser lasts 10-15 years. Water heaters generally need replacing every 8-12 years. You can usually find the manufacturing date on the data sticker attached to the unit.
- Locate the manufacturer's rating plate. This is usually a silver or white sticker on the side of the tank or furnace cabinet.
- Find the serial number. This number contains the date code, though the format varies by brand.
- Check the first four digits. In many brands, the first four numbers represent the month and year of manufacture (e.g., 0418 means April 2018).
- Inspect for rust and corrosion. Look closely around the bottom heating element of the water heater and the base of the furnace for signs of leaking or rust.
Phase 3: Buying a House Checklist Finance
A house inspection checklist is not just about physical defects; it is about your budget. Once you have identified the age of the systems and the condition of the house, you need to translate those findings into dollars.
First, budget for immediate repairs. If the inspection reveals that the water heater is 14 years old and the roof has three years left, you need to have cash on hand for those replacements. Do not empty your entire savings account on the down payment and closing costs, leaving nothing for the inevitable breakdowns that happen in the first year of ownership.
Second, plan for ongoing maintenance. A good rule of thumb is to set aside 1% to 4% of the home's purchase price every year for routine maintenance and repairs. If you buy a $400,000 house, expect to spend between $4,000 and $16,000 annually keeping it in good shape. Older homes and homes in harsh climates will lean toward the higher end of that spectrum.
Do not empty your entire savings account on the down payment, leaving nothing for the inevitable breakdowns that happen in the first year of ownership.
Finally, consider environmental testing. The EPA recommends testing all homes for radon, a naturally occurring radioactive gas that can cause lung cancer. Depending on the age of the home, you may also need to budget for lead paint testing, asbestos testing, or a sewer line camera inspection. These tests cost a few hundred dollars each but can save you tens of thousands in mitigation later.
How to Use Your Printable First Time Home Buyer Checklist
Reading about what to check is helpful, but you need this information in your hand when you are standing in a strange house. Print out a simple checklist and put it on a clipboard. Bring a strong flashlight, a tape measure, and a marble (to check if floors are level).
When you hire a professional inspector, follow them around. Do not get in their way, but ask questions. Use your checklist to ensure they look at the areas you were concerned about during your initial walkthrough. If you noticed a soft spot in the bathroom floor, point it out to them so they can test for moisture and subfloor rot.
Buying a home is one of the largest financial decisions you will ever make. By taking a methodical approach, checking the critical systems, and budgeting for the inevitable repairs, you protect yourself from nasty surprises. Bring your checklist, take your time, and trust your observations.
- Turn on faucets and flush toilets during your initial walkthrough to test water pressure and drainage.
- Look past staging and fresh paint to check the age of the water heater and HVAC system.
- Always hire a certified professional inspector, but use your own checklist to ask them the right questions.
- Budget 1% to 4% of the home's purchase price for annual maintenance and surprise repairs.