New Construction Home Maintenance: First Year Checklist
A brand-new home isn't maintenance-free. Learn how to manage the first-year settling phase, control indoor humidity, and prepare for your 11-month builder warranty inspection.
Full guide New Homeowner Guide Learn how to take control of your new house in the first year without getting overwhelmed.Many buyers assume a brand-new house is entirely maintenance-free. You just get the keys, move your furniture in, and enjoy a perfect, untouched living space for the next decade. The reality is quite different. A newly built house is a massive assembly of wood, concrete, and synthetic materials that are interacting with the local climate for the very first time. New construction home maintenance is critical because the house goes through a demanding "settling phase" during its first year.
If you ignore this initial break-in period, minor adjustments can turn into permanent damage, and you might miss your one chance to get free repairs. Builders typically offer a one-year warranty covering workmanship and materials. Maximizing that warranty requires you to be observant, proactive, and organized. Here is exactly what you need to watch, tweak, and document during your first 12 months in a new build.
New Construction Home Maintenance: The Science of the Settling Phase
During its initial 12 months, a new house undergoes significant physical changes as materials adjust. To understand why a new house needs immediate maintenance, you have to look at the materials. The framing lumber used to build your home was likely exposed to rain, humidity, and the elements during construction. When the walls are sealed and the HVAC system turns on, that wood begins to dry out rapidly. A typical 2,000-square-foot home can release hundreds of gallons of water vapor into the indoor air as the lumber shrinks and cures.
When we moved into our recent new build, I noticed the caulk separating along the kitchen backsplash within four months. It looked like a structural defect, but it was simply the floor joists settling under the heavy weight of the granite countertops and the wood drying out. This shrinkage is what causes the infamous "nail pops" and hairline drywall cracks you will inevitably see.
Because of this massive moisture release, controlling indoor humidity is your most important job during the first year. If the air is too dry, hardwood floors can separate and gap. If the air is too humid, you risk condensation on windows and potential mold growth. EPA guidelines recommend keeping indoor relative humidity below 60 percent. Pick up a digital hygrometer for about $15 at any hardware store and aim to keep your indoor humidity between 35 and 50 percent.
Month 1 to 3: The Critical Break-In Period
The first 90 days in a new home dictate how well your major systems will perform for years to come. Your primary focus here is air quality and mechanical systems.
Construction is a messy process. Even after the builder's final clean, your ductwork is hiding fine drywall dust, sawdust, and carpet fibers. When you run your heating or cooling system, all that debris gets sucked straight into your HVAC filter. A clogged filter chokes your system, forces the blower motor to work harder, and can freeze your air conditioner coils.
Check your filter every 30 days. Buy a stack of basic MERV 8 filters (which usually cost around $10 to $15 each) and swap them out monthly. Do not buy restrictive MERV 13 or MERV 14 filters right now; they clog even faster and can starve your brand-new system of air.
During these early months, you also need to manage excess moisture. Run your bathroom exhaust fans for at least 30 minutes after every shower. Use your kitchen range hood every time you boil water or cook on the stovetop. The goal is to aggressively vent moisture outside so your drying framing lumber doesn't absorb it.
Month 4 to 10: Monitoring the Exterior and Interior
By the time you hit the middle of your first year, the house will have experienced a few changes in seasons. This is when the cosmetic symptoms of settling become most obvious. You will likely see small circular bumps appearing on your walls and ceilings—these are nail pops. As the wood stud shrinks, it pushes the drywall screw or nail outward, cracking the paint.
Outside the house, pay close attention to your grading. Builders grade the soil so that water flows away from your foundation. However, freshly moved dirt settles after a few heavy rainstorms. Walk the perimeter of your house after a downpour. If you see water pooling within five feet of your foundation walls, or if the soil has sunk and is sloping back toward the house, document it. Poor drainage is the leading cause of foundation issues and basement leaks.
Check the exterior caulking around windows and doors, as well as the mortar on brick or stone facades. If you spot gaps larger than 1/8 of an inch, water can get behind your siding. Add these observations to your running list.
How Do I Prepare for the 11-Month Warranty Inspection?
Your builder's warranty typically expires exactly 12 months after your closing date. The 11-month mark is your window to submit a comprehensive list of everything that needs fixing. Do not wait for the builder to contact you; it is your responsibility to initiate this process.
Your builder’s warranty is a ticking clock, and the 11-month mark is your final alarm.
Preparation is everything. You want to hand the builder's representative a clear, undeniable list of defects. Here is the best way to tackle the inspection prep:
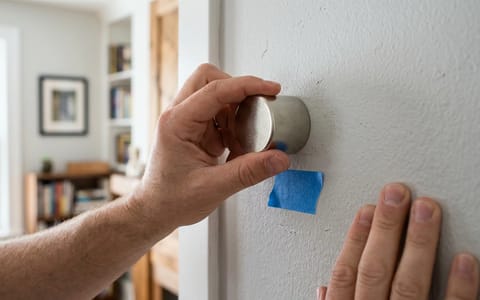
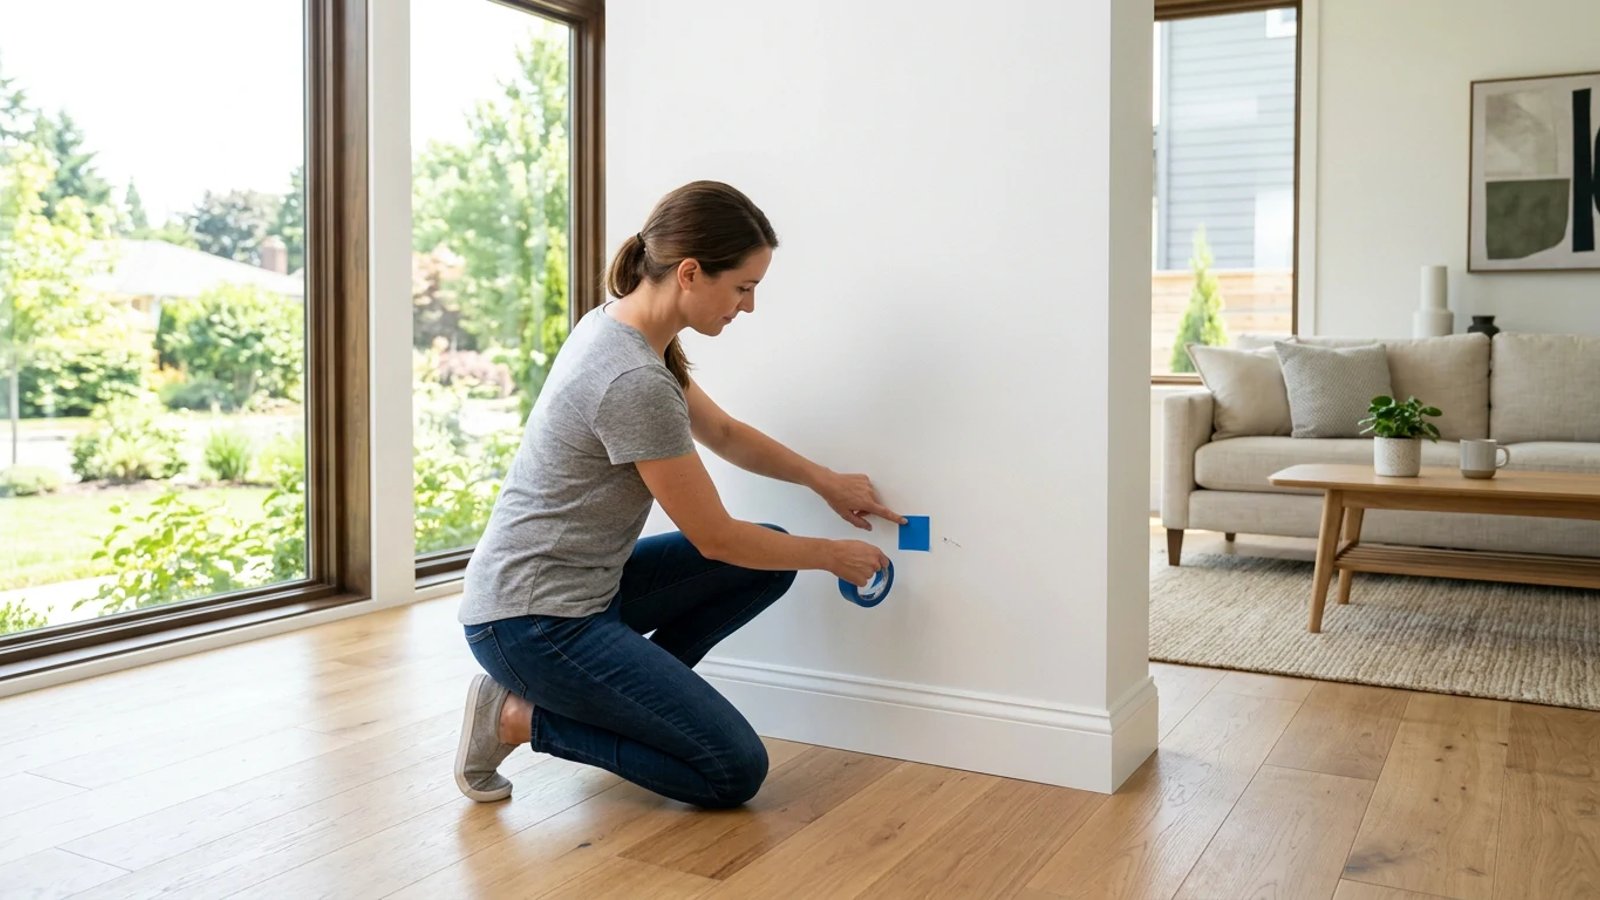
- Buy a fresh roll of blue painter's tape. This tape has a light adhesive that won't damage your paint when you peel it off later.
- Inspect room by room systematically. Turn on all the lights, open the blinds, and look closely at the drywall, baseboards, and ceiling corners.
- Mark every defect. Place a small piece of blue tape next to every nail pop, cracked grout line, separated caulk joint, and sticking door.
- Test all electrical outlets. Buy a $10 plug-in receptacle tester and check every single outlet in the house to ensure they are wired correctly and grounded.
- Run the plumbing. Fill all sinks and tubs to the brim, then drain them while checking underneath with a flashlight for tiny drips at the P-traps.
- Document everything digitally. Take photos of the taped areas and compile a simple spreadsheet listing the room, the issue, and the photo reference.
When to Bring in the Professionals
While you can spot cosmetic issues like cracked paint and squeaky floors, you might not know what a missing roof kick-out flashing looks like, or if the insulation in your attic meets the local building code.
Many homeowners skip this step because the house is new and already passed municipal code inspections. But municipal inspectors are rushed, and builders make mistakes. An independent inspector works strictly for you. If they find that the HVAC ductwork is crushed in the crawlspace, or the roof shingles were nailed too high, you can force the builder to fix these expensive issues before the warranty expires.
Submit your personal blue-tape list alongside the professional inspector's report to your builder's warranty department. Keep all communication in writing via email so you have a paper trail of when the issues were reported.
Surviving the first year of new construction home maintenance is all about observation and patience. By controlling your indoor climate, letting the house settle naturally, and holding the builder accountable at the 11-month mark, you protect your investment. Once those final warranty repairs are complete, the unpredictable settling phase ends, and you can settle into a predictable, manageable routine for the years ahead.
- Buy a $15 digital hygrometer to monitor indoor humidity and keep it between 35% and 50% to prevent wood warping.
- Check your exterior grading after heavy rains to ensure water flows away from the foundation.
- Use blue painter's tape to mark every cosmetic defect you find before the 11-month warranty walkthrough.
- Test every electrical outlet with a $10 plug-in tester to ensure proper wiring before the builder's warranty ends.